The adoption of Bluetooth headphones is a significant leap towards freedom from cables, offering a practical and immediate listening experience. However, for those who are accustomed to traditional wire models, the need to recharge these devices can initially create some perplexity. Similar to smartphones and tablets, Bluetooth headphones are powered by a rechargeable internal battery, and a correct charging procedure is essential to ensure continuous and seamless use. This detailed guide is designed to illustrate clearly and concisely the best practices to recharge Bluetooth headphones, covering the main brands and the different types of devices available on the market.
Essential information about Wireless Charging
Before entering into specifics, it is crucial to understand some basic principles that regulate the operation and charging of Bluetooth headphones. All these devices integrate a rechargeable battery, whose autonomy is influenced by several key factors:
- Battery Capacity: Expressed in mAh (milliampere-ora), this specification is usually indicated in the product specifications and packaging. Higher capacity results in potentially longer autonomy.
- Type of Activity: Listening to high-volume music, using video games or playing audio for movies consume energy in a different way than a simple conversation.
- Duration of Use: Of course, the longer you use your headphones, the faster the battery is discharged.
One often overlooked aspect is that many Bluetooth headphone models, especially over-ear or on-ear, offer the possibility to be used also through a 3.5 mm audio cable, usually included in the package. This option is extremely useful in case of low battery or if you want to preserve its autonomy, effectively turning wireless headphones into wired headphones.
The General Refill Process
Regardless of the brand, the Bluetooth headphone charging process follows a standardized iter. Most devices are equipped with a charging port (commonly micro USB, USB-C or Lightning) and comes with a special cable. The general stages are as follows:
- Connection to the Headphones: Locate the charging port on the headphone pavilion (often the right) or on the charging case for headphones. Insert the smallest end of the charging cable.
- Connection to the Power Source: Connect the other end of the cable (usually USB-A) to a wall charger (USB adapter) or a computer USB port.
- State Monitoring: Most of the headphones and charging houses are equipped with LED indicators that signal the status of the charging (e.g., fixed red light to indicate the current charging, blue or green light for fully charged battery, or light that turns off to final charging).
- Completion of the Charging: Once the indicator signals the full charge, disconnect the headphones or the case from the power source.
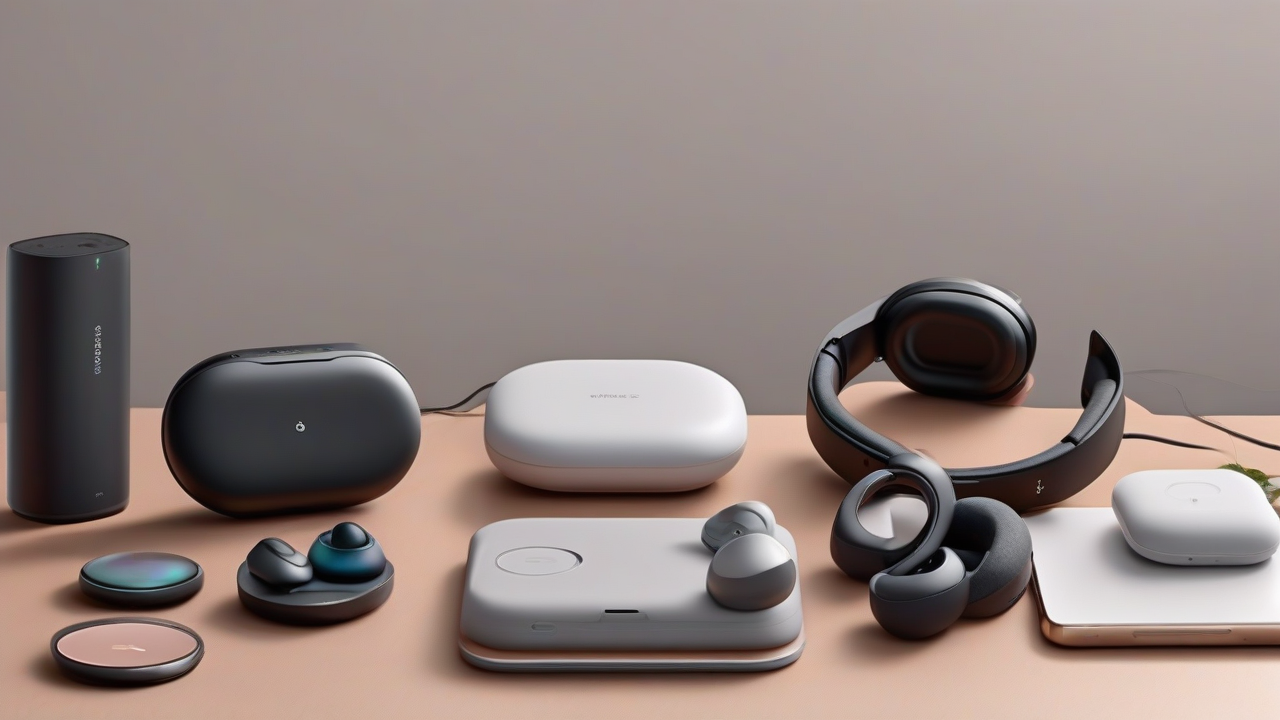
Charging True Wireless (TWS)
True Wireless headphones, such as AirPods or Samsung Galaxy Buds, have a significant feature in their charging system: using a dedicated case. This case not only serves as a protective element, but is also a portable charging station that allows to feed the earphones several times, prolonging its overall autonomy. The process is divided into two stages:
- Reload of the Auricolari in the Custody: Simply insert the earphones into the housings inside the housing. The case, if loaded, will transfer energy to the earphones. LED indicators on the housing (or on the earphones themselves) will show the charging status of the earphones.
- Reload of the Custody: When the case itself is discharged, it is necessary to connect it to an external power source via the supplied cable (often USB-C or Lightning). LED indicators on the housing will signal the load status of the housing.
Detailed Guide for Main Brands
Apple Bluetooth Headphones (AirPods and Beats with W1/H1) Chip
For AirPods earphones, the charging process is managed through their housing. By entering the AirPods into the housings, they will start charging automatically if the housing has energy. The charging status of the earphones is visible through the LED indicator placed between the two housings on the housing: a green light indicates that they are loaded, while a yellow light signals the need for additional charging.
To check the load level of the case, simply open the cover and remove the AirPods: a green light indicates that the case is loaded, while a yellow signals less than a complete residual charge. An intuitive way to control the charging status of both AirPods and the case is to approach the open case to an associated iPhone or iPad (with active Bluetooth), and the information will appear automatically on the screen. Alternatively, you can use the “Batteries” widget on iOS.
The case reloads by connecting the Lightning cable (supplied) to the eponymous connector, and the other end to a USB charger or a USB port. A fully charged case can recharge the AirPods several times, offering over 24 hours of listening. A fast charging of 5 minutes in the case can provide approximately 3 hours of listening or over an hour of conversation.
The latest Beats headphone models, equipped with Apple's W1 or H1 chip, support load monitoring similar to AirPods, integrating with the iOS ecosystem.
Bluetooth JBL, SBS, Bose, Beats, Sony, Philips (Modelli Over-Ear/On-Ear)
These brands usually follow a direct charging approach for their over-ear or on-ear models:
- JBL: Connect the USB charging cable (often USB-C) to the connector usually placed on the right pavilion, near the power button. Connect the other end to a USB charger or a USB port of a computer. Full charging takes about 3 hours.
- SBS: Use the micro USB cable provided. Insert it into the micro USB port on the right pavilion (often at the bottom). The other end must be connected to a USB wall charger or to a computer USB port. The LED will become red during charging and blue full charge, which takes about 2.5 hours.
- Bose: The charging cable (usually micro USB) should be inserted into the connector located at the bottom of the right pavilion. The other end to a USB charger or computer. The battery indicator will light orange during charging and will become green when it is complete. A full charging can take up to 3 hours, providing up to 15 hours of autonomy; a 15-minute quick charging offers 2 hours of use.
- Beats (standard): Connect the charging cable to the micro USB port located at the bottom of the right pavilion. Connect the USB cable socket to a power source. LEDs will indicate the charging status: a flashing white light signals almost low battery, while five white lights indicate a full charge. It takes about 3 hours for a full charge.
- Sony: Locate and lift the door that covers the micro USB port on the right pavilion. Connect the supplied micro USB cable and connect the other end to a computer or wall charger. A red LED will indicate the current charge; this indicator will turn off to finished charging. When charging, the use of headphones may not be possible. Charging times can vary significantly, up to 6 hours depending on the model.
- Philips: The micro USB port for charging is usually located on the pavilion where the power button is also present. Connect the supplied cable and the other end to a USB charger or to a computer USB port. The LED on the pavilion will become white and will turn off at full charge, which takes about 3 hours. The headphones turn off automatically during charging.
Bluetooth headphones Xiaomi, Honor, Samsung, i12 (TWS headphones)
For most headphone models offered by Xiaomi, Honor and Samsung, the charging system is focused on the case:
- Xiaomi, Honor, Samsung: These brands offer mainly earphones. The charging of the earphones is carried out simply in the case. To recharge the case itself, you use the USB-C cable (or sometimes Lightning for some generic models like the i12) supplied, connecting it to the appropriate connector on the housing and then to a charger or a USB port. In the specific case of Honor Choice headphones, some can have a USB-C port directly on one of the ear pads for direct charging.
- i12 (Auricolari generico): These models also follow the logic of TWS earphones. They must be inserted in their charging case. The housing is recharged via the supplied cable (often Lightning or USB-C) connected to a charger.
Charging Bluetooth Headphones Without Cable (Wireless)
For some True Wireless headset models, the technology has introduced the ability to recharge the housing without the help of cables. This feature, known as wireless charging or Qi, allows you to feed the case simply by resting it on a compatible charging base.
To use wireless charging, it is essential to check that your case supports this technology, by consulting the specifications on the manufacturer's website. If compatibility is confirmed, you will need to get a Qi wireless charger. Once acquired, just place the housing on the base to start charging, eliminating the cable footprint.
Charging Bluetooth Headphones without Housing: Is it possible?
The issue of unsealed charging is mainly for True Wireless earphones and, unfortunately, the answer is almost universally negative: without the housing, it is not possible to recharge Bluetooth earphones.
- AirPods Apple: If the AirPods case is lost, the only solution is to request a replacement through the Apple official service. This service is paid and the cost varies according to the AirPods model.
- Other Brands and Models: The situation is similar to most other Bluetooth earphones. The case is an indispensable component for charging. The best advice is to contact the seller or manufacturer to verify the possibility of buying a compatible replacement case. Some brands, like Sony, offer the replacement of individual components. In the absence of this option, the only alternative could be the purchase of a new compatible case (if available on the unofficial market, as for some Samsung Galaxy Buds models) or, ultimately, a new pair of earphones.
In summary, the correct management of charging is a fundamental aspect to fully enjoy the comfort offered by Bluetooth headphones. Knowing the basic principles and specificities of the different brands, you can keep your devices always ready to use, ensuring a seamless listening experience.


