Your new iPhone is ready and configured, but now you are wondering how to connect it to your computer. Maybe you want to transfer your music collection, view photos on a larger screen, copy your favorite videos or, more simply, perform the first important data backup. Although in the past the reference software was the famous iTunes, today the panorama has slightly changed, making the operation even more intuitive and integrated in modern operating systems. Do not worry, with this detailed guide you will learn to connect your Apple device to your PC or Mac, either with the classic cable or, in certain circumstances, wirelessly.
The Evolution of the Connection: Beyond iTunes
For many Apple users, iTunes has been the core of iOS device management for years. However, with the evolution of operating systems, Apple decided to reorganize its applications, subdividing iTunes features into more specific and integrated tools. This has simplified user experience, making iPhone management more organic than the computer ecosystem.
Come on PC Windows (from version 10 onwards), the synchronization, backup and restoration functions of the iPhone have been inherited from the new application Apple Devices. This app looks like a central hub for all your Apple products, offering a clear and functional interface.
For users Mac, from macOS 10.15 Catalina, iTunes was completely dismantled. Its functionalities have been directly incorporated into Finder, the native file manager of macOS. This means that to interact with your iPhone, just connect it and open it directly from the Finder, just like you would do with any other external storage drive.
If you have a Windows version prior to 10, you can still rely on iTunes, whose operation remains valid for those systems.
How to Connect iPhone to Windows PC
For Windows 10 or later PC users, the first step is to download and install the app Apple Devices from the Microsoft Store. Once installed, you are ready to establish the connection.
Connection via cable
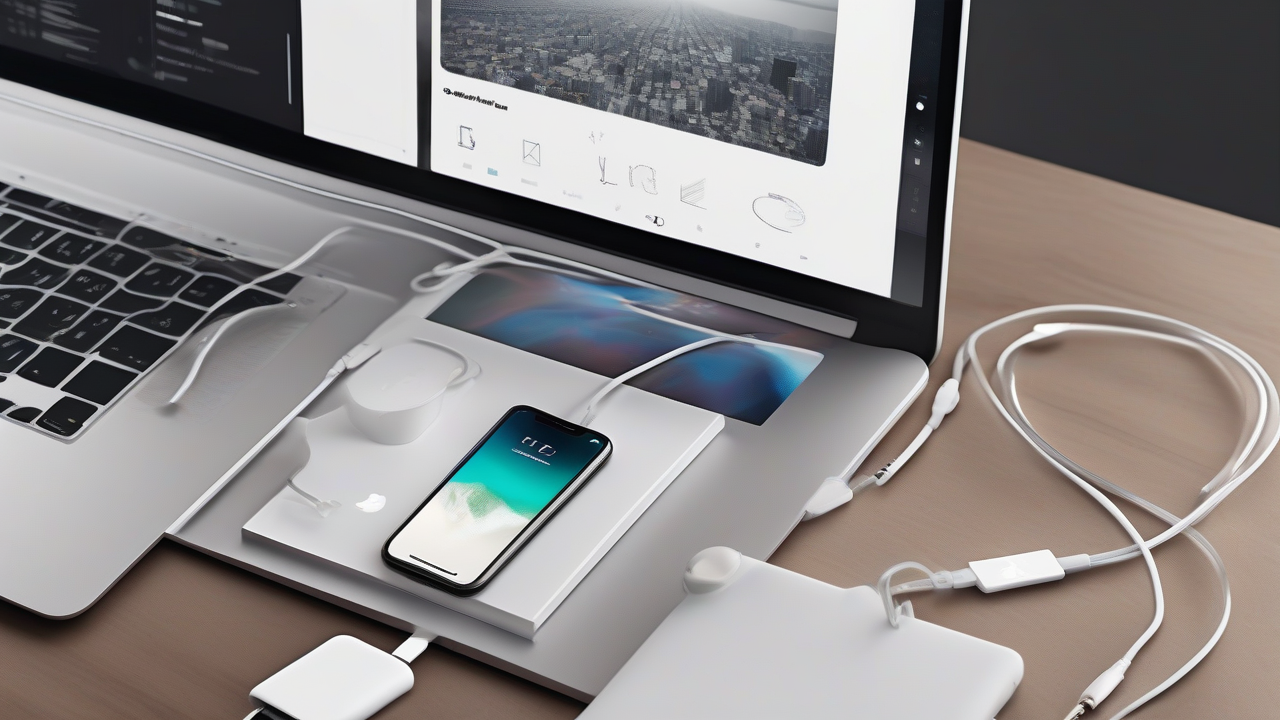
The most direct and reliable way to connect your iPhone to your PC is through the supplied charging cable. Make sure you use the original cable or certificate to ensure a stable and secure communication.
- Check the connector: The latest iPhones use cables with USB-C connector on both sides (for Pro models and some newer standards). The previous models, however, had a USB-A connector for the part to be connected to the PC.
- Adaptors: If your iPhone has a USB-C cable and your PC only has USB-A ports (standard rectangular ports), you will need a female USB-C adapter to USB-A male. Conversely, if your cable is USB-A and your PC only has USB-C ports, you will need a USB-A female to USB-C male adapter. These adapters are easily available and ensure compatibility.
- First Connection and Authorization: Once the iPhone is physically connected to the PC, start the Apple Device app. At first use, the app will ask you to accept the terms of service and start. Next, a “Continue” button will appear on your PC and, almost at the same time, a warning will appear on your iPhone screen that asks you to “authorize” communication with your computer. It is essential to press “authorize” on your iPhone (and enter the unlock code if required) to establish confidence between the two devices. This operation is only necessary for the first time.
Manage your iPhone via the Apple Device App
Once you have authorized the connection, the Apple Device app will show a screen dedicated to your iPhone. Here you can view information such as the device name (which you can also rename), storage capacity, model and serial number.
- Updates and Restore: Section General, you will find options to upgrade your iPhone’s iOS operating system or to restore your device to factory settings, a useful operation in case of software problems.
- Backup: A little lower, in the same Generali section, you will have the options for backup. You can choose to back up the most important data on iCloud (requiring Apple cloud space) or saving a full copy of your iPhone data on the computer, useful to have a local backup always available.
- Sync of Content: To transfer music, movies, TV programs, photos and other files, use the left sidebar of the app. By selecting the voice of your interest (for example, “Music”), you can manage which elements synchronize with your iPhone. It is important to note that for synchronizing music and video on Windows, you may need to download and install apps too Apple Music and Apple TV on your PC, to ensure full compatibility and management of multimedia content.
How to Connect iPhone to Mac
For Mac users, the iPhone management was integrated into the heart of the operating system, the Finder, starting with macOS 10.15 Catalina.
Connection via cable
Also for Macs, the wired connection is the most robust solution.
- Charging cable: Connect your iPhone to your Mac using the charging cable.
- Authorization: Similarly to Windows, at the first connection, you will need to authorize communication between the two devices. On your iPhone, the request to “authorize” the Mac will appear. Tap the button and, if required, enter the unlock code.
- Access via Finder: Once authorized, open the Finder (the smiling face icon in the Dock bar). In the left sidebar, under the heading “Positions”, you will see the name of your iPhone appear. Click on it to access management options.
IPhone management via Finder
Within the Finder, the screen dedicated to your iPhone will offer similar features to those of the Apple Device app on Windows.
- Information and General Management: Section General, you can view device details, check availability of new iOS updates and, if necessary, install them. The “Restore iPhone” button will allow you to reset your device, bringing it back to factory conditions.
- Backup: Also in the Generals section, you will find the options to make a new backup on iCloud or locally on your Mac. You can also manage previous backups, freeing space or restoring from them.
- Sync of Content: To sync music, movies, TV programs, photos and files, select the desired category from the top menu (for example, “Music”). Here you can choose whether to sync the entire library or individual items, enabling the option “Sync music on iPhone” (or similar to other categories) and then clicking on the “Sync” button at the bottom right.
Wireless connection: Synchronization Without Cable
Once the initial cable connection is established and the communication between iPhone and computer is authorized, you can enable a convenient wireless synchronization and backup functionality via Wi-Fi.
Enable Wi-Fi Synchronization
To activate this option, you must first connect your iPhone to your computer via cable, following the instructions described above:
- On Windows PC: Launch the Apple Device app, select your iPhone and go to section General. Scroll down to find the section Options. Here, the item “Show iPhone if Wi-Fi is enabled” and click on “Applica”.
- On Mac: Open the Finder, select your iPhone in the sidebar and go to section General. Scroll down to find the section Options. Click on “Show this iPhone if Wi-Fi is enabled” and click on “Apply”.
Once enabled, whenever your iPhone and computer are connected to the same Wi-Fi network, you can start the Apple Device App (on Windows) or the Finder (on Mac) and view your iPhone, so you can sync content and backup without the need for a cable.
It is important to keep in mind, however, that Wi-Fi synchronization has limitations: it does not allow you to start operating system updates or restore your device under factory conditions. For these operations, cable connection remains essential.
Manage your iPhone in Critical Situations
There are scenarios where the connection to the computer becomes crucial, as in the case of an iPhone with broken or blocked screen.
Connect an iPhone with Rotto Screen
If your iPhone screen is damaged, the ability to connect it to your computer for a backup depends on a fundamental condition: the previous authorization of communication between the two devices.
- The Authorization Challenge: As we have seen, at the first link, you need to tap the “Autorizza” button on the iPhone screen. If the screen is completely broken and does not respond to commands or does not display anything, this operation becomes impossible. Therefore, if you have never connected and authorized that computer before, you will not be able to establish a backup connection.
- Backup possible if already authorized: If you have already authorized your computer in the past (also via Wi-Fi, if you had configured it), you can proceed with backup. Connect your phone (cable or Wi-Fi if you already set up) and start the Apple Devices app on Windows or Finder on Mac. From the Generali section, you can start the desired backup option.
- Alternative: In case of screen irreparably compromised and no pre-existing permission, the options are reduced. If you had an automated iCloud backup enabled, your recent data could be safe. Otherwise, the only solution to recover data is repair or replacement of the iPhone screen.
Connect an iPhone Locked or Disabled
An iPhone blocked or disabled (maybe for too many wrong code attempts) can be reset or restored via the computer, provided the device has been connected and authorized at least once before. Even if you cannot enter the unlock code, the recovery mode (DFU Mode) can come to your help.
Steps to put your iPhone in Recovery Mode:
- iPhone 8, iPhone SE (2nd generation and next), and later models: Press and release the Volume Su button quickly. Then, press and release the Volume Down key quickly. Finally, hold the side button (on/unlock) until you see the connection screen on your computer. The Apple logo may appear, but do not release the side button.
- iPhone 7 and 7 Plus: Press and press the side button (on/unlock) and the Volume Down key, until the connection screen appears to the computer.
- iPhone 6s, iPhone SE (1st generation) and previous models: Press and press the Home button and the side button (on/unlock) at the same time until you see the connection screen on your computer.
Once your iPhone is in recovery mode and connected to your computer, start the Apple Device app on Windows or Finder on Mac. A message should appear that indicates a problem with the iPhone and offers you the option of “Update” or “Restore” the device. Choose “Restore” and follow the screen instructions to initialize your phone. This operation will delete all data, so it is only to consider if you have no alternative or if you already have a backup.
Alternatives to Manage iPhone Without Apple Apps
If for some reason you prefer not to use the Apple Device app or Finder to manage your iPhone, there are several third-party solutions and alternative methods.
- Third-party software: There are programs developed by companies outside Apple, such as iMazing (available for both Windows and macOS), which offer advanced features for data transfer, backup and iPhone management, sometimes with greater flexibility than native solutions.
- Cloud Services: For synchronization of photos, videos and documents, cloud services are an excellent alternative. Platforms like OneDrive, Google Drive or the same iCloud (also available on Windows via the app or browser) allow you to upload your files from your phone and access them comfortably from any computer, without needing cables or specific apps on your PC.
- AirDrop (for Mac): If you own a Mac, AirDrop technology allows you to transfer files (photos, videos, documents) between your iPhone and Mac in an extremely fast and wireless way, simply by selecting files and choosing the target device.
In summary, connecting the iPhone to the computer has never been so versatile. Whether you need to back up security, transfer your music library or face more complex situations like a blocked phone, solutions are at hand, ready to ensure total control on your Apple device.


