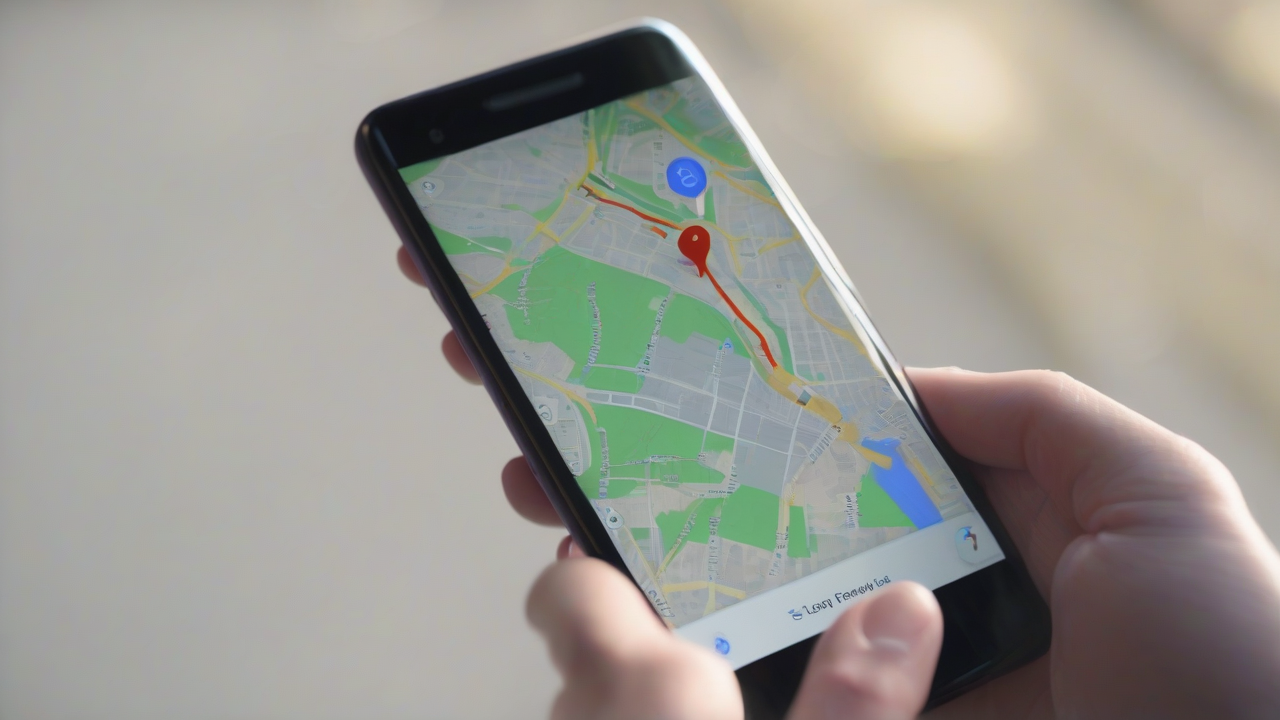
Google Maps has become a travel companion and a daily reference point for millions of users, essential to find routes, discover new places and navigate easily. With every search and every move, however, the service creates and stores a detailed history, which over time can become extremely vast. If on the one hand this feature offers practicality, allowing you to easily find addresses already visited or past searches, on the other may raise concerns about privacy and the amount of personal information accumulated.
For those who want to keep their fingerprints under control or simply do some “cleaning” in their account, deleting Google Maps history is a fundamental task. This guide is designed to accompany you step by step through the procedures necessary to eliminate both the search history, and the travel history, or the list of places that Google automatically tracks whenever you go to a different place, if the localization service is active. We will explore the different ways to do it, whether you are using a smartphone (Android or iPhone), or you prefer to operate from computer.
Search History Management on Google Maps
The search history on Google Maps is a log of all the addresses, places and activities you have searched within the application. It is useful to quickly recover information, but sometimes it is preferable to delete it for privacy issues or to keep the order. It is important to note that this procedure does not affect the places you have saved, shared or for which you were asked to write a review, but focuses exclusively on your search queries.
On Android Devices
If you use an Android device, deletion of search history is an intuitive process:
- Launch the application: Open the Google Maps app on your smartphone or tablet. Make sure you have logged in with the Google account you want to manage your history.
- Access Settings: Tap your profile picture, located at the top right on the main screen of the app. In the menu that opens, select the item Settings.
- Navigate to the History: Within Settings, search and select the option History of Maps. Here you will find a detailed list of the places you are looking for and activities.
- Delete Individuals Elements or Days: To delete a single item or all searches carried out on a given day, locate the item or date and tap the symbol of ♪ X placed at his right. The voice will be removed immediately.
- Filter and Search: If your history is very extensive, you can use the filter tools available. The symbol of calendar allows you to select a specific date to display only the activities of that day. The magnifying glassinstead, it allows you to search for specific activities or places by name.
- Multiple or Complete Elimination: For larger cleaning operations, use the function Delete, usually located on the right. This option will offer you several choices in the context menu:
- Eliminates today's activities: To remove all searches carried out on the current day.
- Delete custom date range: It allows you to define a specific period (start and end date) of which to delete the history.
- Delete all activity: For a complete cancellation of all past searches.
After selecting the desired option, you will have to confirm your intention in the next step.
- Set Automatic Elimination: For proactive management, you can activate automatic deletion of history. Look for the item (often labeled as “Delete automatically”), select the option Automatically eliminates the activity that has more than and choose between options 3 months, 18 months or 36 months from the drop-down menu. Confirmation by pressing Come on and then validating the operation. This setting can be disabled at any time, selecting “Do not automatically delete the task” and saving the preference.
On iOS Devices (iPhone/iPad)
The procedure to erase Google Maps search history on iPhone or iPad is almost identical to the one described for Android devices. The differences are minimal, mainly related to the iOS/iPadOS user interface:
- Launch the app: Open the Google Maps application on your iOS device. Make sure you are logged in to your Google account.
- Access Settings: Tap your profile picture on the top right.
- Navigate to the History: Continue by selecting Settings and then History of Maps. From here, you can follow the same detailed instructions provided for Android to delete individual items, filter, or use multiple and automatic deletion options.
From Computer (Web Browser)
If you prefer to manage your Google Maps history through a computer, the procedure is as simple and accessible by your favorite web browser:
- Access the service: Open your browser and link to the main page of Google Maps. Login with your Google account if required.
- Activity: Click on the menu icon with the symbol of three horizontal lines ()), located at the top left. From the menu that opens, select the item Map activities.
- Delete Singles Elements or Dates: On the new screen, you can view your history. To remove individual entries or activities of a specific date, browse the list and click on the symbol of ♪ X next to the desired item. The elimination will be immediate.
- Filter and Search: For more targeted research, use the tools placed above the list, on the left. The symbol of calendar allows you to select precise dates, while magnifying glass helps you look for activities based on the name of the place or other keywords.
- Multiple or Complete Elimination: For more extensive cleaning, use the menu Delete, which you will find on the right. This menu offers options similar to those of the mobile app:
- Eliminates today's activities: To remove the last day searches.
- Delete custom date range: To define a specific erasure period.
- Delete all activity: To remove the entire search history.
- Set Automatic Elimination: Clicking on the last item Delete automatically, you can configure an automatic cancellation. Select Automatically deletes tasks that have more than, choose the number of months (3, 18 or 36 months) beyond which the data will be removed, then click on Come on and confirm. Also in this case, you can turn off automation at any time by following the same steps and selecting the option “Do not automatically delete the task”.
Control and Elimination of the Timeline Movement History
The travel history, also known as Timeline or “Settings”, is a Google Maps function that automatically records your routes and places visited, based on the location services of your device. If on the one hand it is useful to review past travel or remember where you have been, on the other it represents a very detailed collection of personal data that many users prefer to manage carefully.
On Android Devices
To delete the travel history from your Android device, follow these steps:
- Launch the application: Open Google Maps and make sure you have logged in with your Google account.
- Access to the Moves: Tap your profile picture (top right) and select Changes from the menu. You will be redirected to a screen that sums up your detected locations.
- Delete All History of Movings or a Specific Period:
- To delete the entire history: Touch the symbol of three vertical dots top right, select Settings and Privacy. Section Location Settings, you will find the option Delete all location history. Press, read the notice carefully (which informs you about permanent data loss and possible implications for apps like Google Now), check the box to confirm you have understood and press Delete.
- To eliminate a period: Choose the option Delete Time Position History and specify the start and end dates of the range you want to delete.
- Set Automatic Elimination: To automate the process, select Automatically delete Position History. You can choose after how many months (3, 18 or 36 months) the system must erase data independently. This option can be disabled at any time by following the same procedure.
- Clear Activity Specifications: If you want to remove only certain moves, navigate the tab Day (in the Moves screen) and select the desired date from the calendar. Once you view the activities of the day, locate the move to be eliminated, tap the symbol three vertical dots corresponding and select Remove. A final confirmation will be required.
- Delete for Places or Cities: You can also explore tabs Places or Cities to view your grouped visits. Clicking on three vertical dots next to a place or a city, you can choose the option Remove all visits to cancel the activity related to that specific destination.
On iOS Devices (iPhone/iPad)
Also for the history of moving on iPhone, the procedure faithfully follows that for Android. The only small variation could concern the iconography of some menus, where you could find a symbol three horizontal points instead of vertical to access certain options. For the rest, the main steps remain the same:
- Launch the app: Open Google Maps on iOS/iPadOS and sign in.
- Access to the Moves: Tap your profile picture and choose Changes.
- Manage the History: From here, you can access the same features described for Android, including complete deletion, for period, automatic or individual tasks.
From Computer (Web Browser)
Managing computer travel history is a practical alternative for those who prefer a wider interface:
- Access the service: Open your browser, go to Google Maps and sign in with your Google account.
- Travel: Click on the symbol three horizontal lines ()) top left and select Changes from the menu. Your Timeline will display the summary screen.
- Delete All History of Moving: For a complete cancellation, look for the icon of the basket at the bottom right in the map of the movements. Click on it, read the notice carefully, check the confirmation box and press Delete location history.
- Set Automatic Elimination: Click on the symbol ofgear (just to the right of the basket). From the pop-up menu, select the option to automatically delete the location history. Set the number of months (3, 18 or 36 months) beyond which the data will be deleted, click on Come on and confirms the intention. As with other automatic options, you can always turn it off.
- Delete Changes of a Specific Day: Use the drop-down menus in the “Settings” pane (top left) to select a specific day. The activities of that date will be displayed in a panel below. Click on the icon of the basket at the top right of the panel to delete all day activities, confirming the operation.
- Delete Singles Move: To remove a single move, locate the element in the daily activity panel, click on the symbol of three horizontal points corresponding and select Remove the place from the day.
Managing history on Google Maps, both research and travel, is a crucial aspect of managing your digital privacy. Understanding and using these tools allows you to maintain control over the information that the services collect, ensuring a more conscious and personalized experience.


