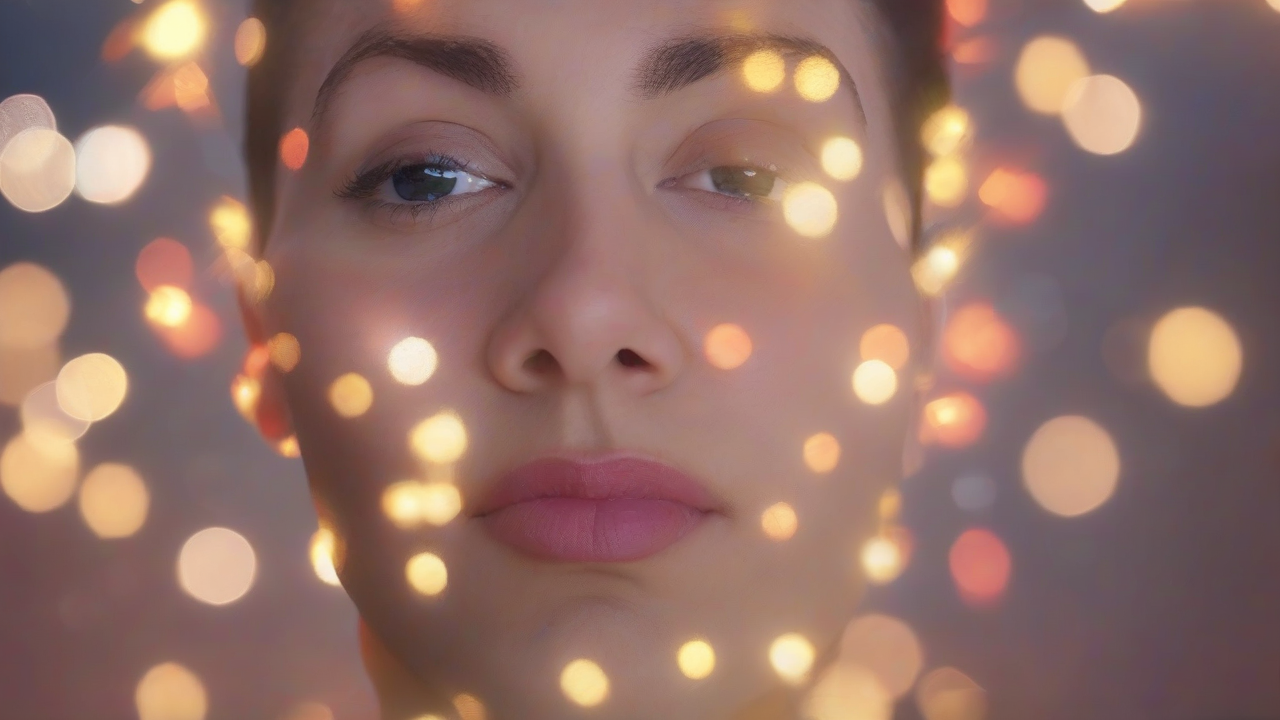
How many times have you admired a photograph in which the main subject is very sharp, while the background dissolves in a soft and pleasant blur? This effect, known in the world of photography as “bokeh”, is able to give the shots a magical and professional atmosphere, highlighting the focal point and creating an extraordinary visual depth. Even seemingly insignificant details, such as the lights of a distant city transformed into luminous and soft discs, can contribute to an enchanting aesthetic.
If you've always wondered how to get this result, you're in the right place. This complete guide will reveal all the secrets to make photos with a blurred background, whether you use your latest smartphone, a post-production computer, or a reflex camera. We will explore the integrated functions in the devices, third-party applications and advanced photographic techniques, ensuring amazing results and the ability to express your creativity to the best.
The Art of Bokeh: What is it and Why is So Fascinating
The term “bokeh” comes from Japanese and literally means “sfocal” or “foschia”. In photography, it refers to the aesthetic quality of blurring in areas out of focus of an image. It is not simply a lack of clarity, but of a pleasant and harmonic yield, which can vary according to the shape of the target diaphragm, its optical construction and focal distance.
The charm of the bokeh lies in its ability to isolate the subject from the background, eliminating distractions and guiding the viewer directly to the point of interest. This creates a sense of depth and three-dimensionality that elevates photography from a simple shot to a work of art. Lights in the distance, for example, are transformed into bright and delicate circles, adding an onyric touch to the image. Learning to control the bokeh effect means acquiring a powerful tool for composition and artistic expression.
Unfocused wallpapers with your Smartphone: The Technology at the Door of Hand
In recent years, smartphone technology has taken giant steps, making the bokeh effect accessible to everyone. Many modern devices integrate advanced software features and, in some cases, multi-camera configurations that simulate the depth of field typical of professional cameras. Let's see how to make the most of your phone.
Android Smartphone: Portrait Mode and Regulations
Most of the mid and high-end Android smartphones are equipped with a specific function to get the blurred background, often called “Portrait Mode” or “Selective Fire”. The camera software analyzes the image to distinguish the subject in the foreground from the background and selectively applies the blur.
To activate it, open the camera application and browse the different shutter modes available (usually labeled as “Photo”, “Video”, “Portrait”, “Pro” etc.). Select the “Portrait” mode. Many phones will give you indications on the screen to ensure that the conditions are optimal (e.g., “Next to the subject” or “Insufficient lighting”). Once the system is “Ready”, you can proceed to the click.
A significant advantage of many Android models is the ability to adjust the intensity of blur. After selecting the Portrait mode, look for an icon that simulates the aperture of the diaphragm (often a circle with a “f/N” value) or a control bar of the “Efficiency”. By decreasing the f/N value (e.g. f/1.8, f/1.4) or increasing the effect power, the blur will be more marked. On the contrary, increasing the f/N value (e.g. f/4.8, f/5.6) or decreasing the power, the effect will be lighter. Experience with these values to find the perfect balance before taking.
For example, on Samsung devices, after activating the Portrait mode, you may find a circular icon with a white dot on the bottom left. Touching it, the “Power Effect” bar will open, which will allow you to vary the intensity from 0 (minimum deviation) to 7 (maximum exhaust). Once the preview is satisfied, press the snap button.
iPhone: The Simplicity of Portrait Mode
Even iPhones, starting with the 7 Plus model, integrate a powerful “Portrait Mode” that greatly simplifies the creation of snaps with blurred background. The iOS system is designed to automatically isolate the subject and apply a natural blur to the background.
To use it, open the “Photo Camera” app on your iPhone and scroll down the options (or swipe on the screen) until you select “Portrait”. As on Android, the iPhone will give you useful directions to correctly frame the subject. Once ready, tap the button with the six dots at the top right and select “f Opening” to adjust the depth of the field. Drag the cursor to set a f-stop value: a low value (e.g. f/1.4) will create an intense blur, while a higher value (up to f/16) will produce a more delicate effect. When the preview meets you, press the white circle to take.
Scatto Techniques Manual Without Portrait Mode
If your smartphone does not have a native “Portrait” function, do not disperse. You can still try to get a good blurred effect by adopting some adjustments during the shot:
- Approach the Subject: The closer the subject is, the greater the blur of the background.
- Distance between Subject and Background: Make sure the subject is as far away as possible from any background element. This will increase the separation effect.
- Manual Fire: Tap the screen at the subject to ensure that the camera will focus right there. If your phone is struggling, try to get away slightly.
Direct Post-Production from Smartphone
Many smartphones also allow to intervene on the blur after taking the photo, directly from the gallery. If you clicked in Portrait mode, open the image, select “Edit” (often represented by a pencil-shaped icon) and look for the option dedicated to blurring (it could be an icon with a focus subject and a dotted background). From here you can adjust the intensity of the bokeh effect.
For photos taken in normal mode, you can explore the effects and settings of the gallery. Many devices offer generic or “vignetting” effects that can simulate a bokeh effect. Some, like Xiaomi phones, even integrate a “Bokeh” effect based on artificial intelligence to apply blur in post-production. Login to “Edit”, search for the “Effets” or “Regulations” section and apply the desired changes.
Third Party App for a Custom Bokeh
If the native features of your device are not enough or completely missing, third-party apps offer versatile solutions to blur the background of your photos. Here are a couple of the most effective:
Google Photos (Android/iOS/iPadOS)
Google Photos is not only a backup service for your images, but also a powerful integrated editor, often enhanced by artificial intelligence. The “Reported Blur” function allows you to create a quality bokeh effect.
After downloading and installing Google Photos and signing in with your Google account, open the desired photo. Press the “Edit” button on the bottom left, select the “Actions” tab and search for the “Reported Blur” option. You may need to scroll through the available tools. From here, you can adjust the values of “Sfoking” and “Depth” by means of special bars. A useful tip is to touch the point of the image you want to keep sharp to set the focus accurately. Confirm the changes and save the photo as a new copy.
Pixlr (Android/iOS/iPadOS)
Pixlr is another excellent photo editing app, available free of charge on Android and iOS/iPadOS, although some advanced features require in-app purchases or a subscription. It offers detailed blur tools for precise control.
After installing and launching Pixlr, it declines the initial Premium offers. Accept the terms of use and manage the permits. Press on “Photo”, give the necessary permissions and select the image to edit. In the menu below, choose “Tools” (the icon with pencil and ruler), then select “Tool”. To blur only the background, opt for “Circular” or “Linear” options and define the area of intervention. You can refine the effect using the rubber icon to be erased to remove blur from specific areas or the brush tool to add it. Adjust size and nuance for optimal result. Once satisfied, confirm with the check mark and save the photo via the “Export” option.
Exploring Computer Wallpapers: Tools and Software
Your PC may also be a valuable tool to apply the bokeh effect, both with integrated solutions and professional software.
Windows 11 and Mac Photo App
On Windows 11, the default “Photo” application offers surprisingly advanced editing features. After opening the image, click on “Edit” at the top left. Look for the “Background” icon (often with a “AI” label and a stylized image of a person with a dashed background). The app will automatically detect the background and propose options such as “Swimming”, “Remove” or “Replace”. Choose “Slip” to apply the bokeh effect.
Also on Mac, the integrated “Photo” application allows for similar effects. Open the image, press on “Edit” and then on “Rule”. Here you can find and apply the “Vignettatura” effect, which, although different from pure bokeh, can create an interesting central point of interest by slightly blushing the edges.
Professional Software: Photoshop and GIMP
For maximum control and professional level results, software such as Adobe Photoshop or GIMP (a free and open-source alternative) are the ideal tools. They allow you to accurately select the subject, mask it and apply customizable blur filters to the background, simulating different types of bokeh and allowing fine adjustments of intensity and shape. Although they require a learning curve, they offer endless creative possibilities.
The Reflex: Absolute control over Bokeh
Reflex cameras (or mirrorless cameras) offer the highest control and the best quality to achieve the blurred background effect, thanks to their superior optics and the ability to directly manipulate the shutter parameters.
The Importance of the Target and the Opening of Diaphragm
The most crucial factor for an exceptional bokeh with a reflex is the goal, in particular its “luminosity”, that is the maximum aperture of the diaphragm. Objectives with wide openings (indicated by low f/N values, such as f/1.8, f/1.4 or f/1.2) allow a lot of light to enter and, above all, create a very reduced field depth, essential for a marked blurred background. These goals are often called “fixes” (prime lenses) and are highly appreciated for portraits.
Even with less luminous targets, such as lens kits (e.g. 18-55mm with f/3.5-5.6 aperture), it is possible to obtain satisfactory results, provided you follow some techniques.
Scatto Techniques with Reflex
To maximize the bokeh effect with your reflex, follow these steps:
- Manual Mode (M) or Diaphragm Priority (Av/A): To have full control, set the selection ring on the mode “M” (Manual) or, for a simpler management, on “Av” (Priority of Diaphragm on Canon) or “A” (Priority of Diaphragm on Nikon). In the latter mode, decide the aperture opening and the camera automatically sets the other parameters for proper exposure.
- Opening of the Maximum Diaphragm: Set the diaphragm at its maximum aperture (the lowest f/N value possible, for example f/3.5, f/1.8, f/1.4, depending on your goal). On the Canon reflex, you can press the “Av/+-” button and turn the main ring. Check out your camera manual for specifications.
- Approach the Subject: Place as close as possible to the subject you want to focus. The more the subject is close to the goal, the more depth of the field will be reduced and the blurred background.
- Distance Subject-Basic: Make sure there is a significant distance between the subject and the background. If the subject is very close to a wall, it will be more difficult to get a pronounced blur, even with a bright lens.
- Fire Mass: Look through the viewfinder and compose the image. Press the shutter button in half to focus the main subject. Once the fire is blocked and the subject appears sharp, completely press the shutter button to capture the photo.
The field depth management principles are universal among the various brands (Canon, Nikon, Sony, etc.), although the menu buttons and nomenclatures may vary. The key is to understand how the aperture of the diaphragm, the focal distance and the distance from the subject influence the blur of the background.
Experiment to Create Your Style
The blurred background effect is an incredibly versatile tool that can elevate your photos to a new level. Whether you are using the computing power of a smartphone, the flexibility of an editing software or the precise control of a professional camera, the possibilities are endless. Do not be afraid to experiment with different modes, intensity adjustments and snap techniques.
Remember that practice makes perfect. The more you exercite, the more you will develop a critical eye and a sensibility to understand which level of blur is more suitable for each individual situation. Armed with curiosity, take the necessary time and, above all, have fun creating images that will leave anyone in open mouth with their charm and depth.


