The phone is an object we use daily, and the column is undoubtedly one of its most valuable features. It contains numbers of family members, friends, colleagues and professional contacts, a real digital archive of our social and working network. Losing this data, perhaps due to the transition to a new model of smartphone, a reset to factory settings or an involuntary deletion, can generate little anxiety.
But there is no reason to worry about it: technology offers effective solutions to recover the Android column and transfer it between devices. In this comprehensive guide, we will explore in detail the various methods available, from the power of cloud synchronization offered by Google, to restore deleted contacts, to manual transfer options and to switch from Android to iPhone. Dedicate a few minutes to these instructions and you will have all the tools to better manage your precious contacts.
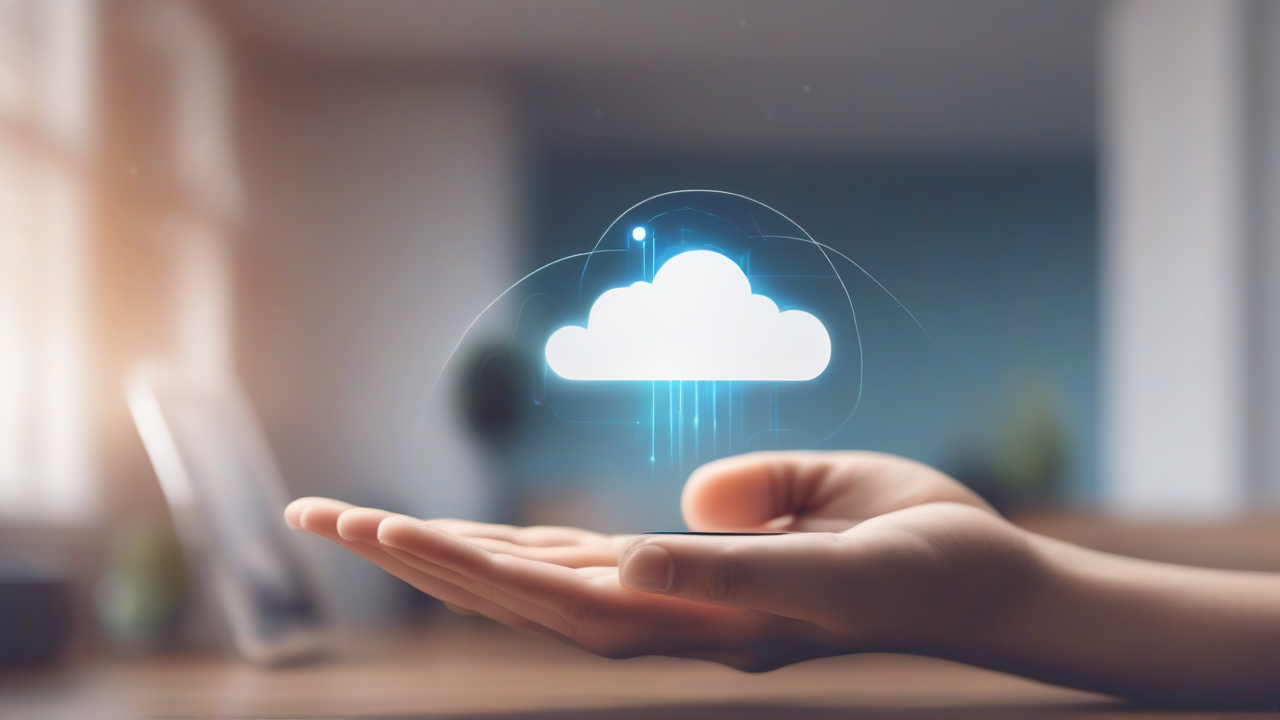
The Fastest Method: Synchronize Contacts with Google Account
The most efficient and automatic way to ensure that the column is always safe and available on any Android device is to use synchronization with the Google account. This cloud-based system allows you to connect your phone's contacts to a Gmail account, keeping them updated on all devices connected to the same account.
Prerequisites for Synchronization
- Both devices (old and new) must be connected to the Internet.
- Both devices must have installed Google services.
- You must have a Google (Gmail) account configured.
Synchronization from the Old Android Smartphone
First, make sure your old Android smartphone is properly syncing contacts with your Google account. Here's how to do:
- Turn on the old smartphone and check that it is connected to the Internet.
- Open the door Settings of the phone (the gear icon).
- Scroll down and tap Passwords and accounts or Account (the exact name may vary slightly depending on the version of Android and the manufacturer).
- Select your google/Gmail account from the list.
- Tape Account synchronization or Sync account data.
- Make sure the option Contact is activated (the lever must be on ON or the checkbox).
- To force the update, tap the three vertical dots (or “Other” option at the top right and select Synchronize now.
If you have never configured a Google account on your old phone, you can add it in the section Passwords and accounts touching Add account and select Google. Login with the account credentials you want to use on the new phone and, once added, check that the synchronization of contacts is active.
Synchronization on the New Android Smartphone
After checking that the old device has synced contacts with Google's cloud, it's time to transfer them to the new smartphone:
- If you have already configured the new device with the same Google account used on the old, just check that the synchronization of contacts is active in the Settings > Passwords and accounts > [Your Google account] > Sync account. Contacts should appear automatically within a few seconds.
- If a different Google account is configured on the new device, you will need to add the one used on the old phone. Registered in Settings > Passwords and accounts > Add account > Google. Pass security check, log in with the correct credentials and wait for the contacts to be downloaded and displayed in your new phone’s address book.
Recover Deleted Android Contacts: Google Restore Function
Did you mistakenly delete some important contacts? Don't despair! The Google Contacts service includes a valuable recovery function that allows you to report the column to a previous state, up to a maximum of 30 days from the current date. This feature can save you in many critical situations.
Important considerations Before Restoration
It is essential to understand the implications of this operation:
- Restore will recover all deleted contacts before the chosen date.
- All changes and additions made to contacts after the date of restoration will be cancel. This means that if you have added new contacts or modified existing ones after the selected restore point, these changes will be lost.
- The contacts permanently deleted from the “Cestino” of Google Contacts cannot be recovered.
Steps to Recover Deleted Contacts
- Open a web browser (on PC, tablet or smartphone) and go to the website Google Contact (contacts. google. com).
- Login with your Google account if required.
- Once on the contact page, click on the icon in the form of gear (Settings) at the top right.
- From the menu that appears, select the item Cancel the changes.
- You will be asked to choose a time range: you can select 10 minutes ago, 1 hour ago, Yesterday, 1 week agoor Personalized (for a maximum period of 30 days). Choose the date and time you want to return your column.
- Click on Confirmation.
After a few moments, you should see a confirmation message indicating the success of the operation. At this point, it is advisable to “force” a new synchronization of contacts on your Android device as described in the previous section, to ensure that the changes are immediately applied to the phone.
Move the Book Manually with a VCF File
Cloud synchronization is convenient, but there are situations where you may not be practicable: maybe the old smartphone does not have Google services, or just prefer a manual approach. In these cases, the VCF file (vCard) is the ideal solution for exporting and importing the directory.
Export Contacts from the Old Android Smartphone
The procedure for creating a VCF file may vary slightly depending on the Android smartphone model. However, the general steps are as follows:
- Open the app Contact (sing) Books) on your old device.
- Search for an option for contact management, often labeled as Organization, Manage contacts, or accessible via an icon with three dots or four dots.
- Select the option Export or Export to files.
- Choose to export contacts on internal memory of the device or on the SD card, if present.
- The system will ask you to select a folder where to save the VCF file (usually a .vcf file extension). Assign an easy name to remember and touch Save or Export.
On some specific brands, you may find:
- Samsung Smartphone: Open the app Books, tap the three dots at the top right, select Settings and then Export contacts.
- Huawei Smartphone: Open the app Contact, tap the four dots, select Settings and then Import/Export > Export to archive.
Transfer the VCF file to the New Device
Once you create the .vcf file, you must transfer it to your new smartphone. You can do this in different ways:
- Email: Send the file to yourself by email.
- Messaging App: Use apps like WhatsApp, Telegram or similar to send the file.
- Cloud Services: Upload the file to Google Drive, Dropbox or other cloud storage services and then download it from the new phone.
- USB cable: Connect both phones to a computer and copy the file manually.
An alternative method, if your contacts were synchronized with Gmail, is exporting the VCF file directly from Google Contacts online. Visit contacts. Google. com, login, click on Export top, choose the option vCard (for Android or iOS) and click on Export. You can then send this file to your new device.
Import Contacts on the New Android Smartphone
After transferring the VCF file to the new device, you can import contacts:
- Make sure that the .vcf file is saved in a folder easily accessible on your new phone.
- Open the app Contact on the new smartphone.
- Search the option Import or Import from files (usually in the same section where you found the Export option, below Organization or Manage contacts).
- Select Device or File .vcf, navigate to the folder where you saved the file and select it.
- The system will process the file and add contacts to your column.
Transfer Contacts from Android to iPhone
The transition from one operating system to another, as from Android to iOS, may seem complex for data transfer, but for contacts there are simple and effective methods.
Method 1: Using the Google Account
If on your Android device you synced contacts with a Google account (as explained in the first section of this guide), the transfer to iPhone is extremely simple:
- Make sure that your Android contacts are properly synced with your Google account.
- Take your iPhone and open the app Settings.
- Scroll down and tap Contact.
- Tape Account.
- Select Add account and then Google from the list.
- Login with the same credentials as the Google account you used on your Android.
- Make sure the option Contact be active (the lever on ON). Tape End.
In a few moments, all contacts synchronized with that Google account will appear in the directory of your iPhone. If you want new contacts created on your iPhone to be automatically saved and synced with your Gmail account, you can set it as a default account. Go to Settings > Contacts > Default account and select your Gmail account.
Method 2: Using a VCF File
If you don't have a Google account configured on old Android or prefer not to use it for transfer, you can use the VCF file method:
- Create a .vcf file of your Android column by following the steps described in the previous section (Export Contacts).
- Send this file to yourself by email, preferably to the email address associated with your iCloud account or any other account configured on your iPhone.
- On your iPhone, open the app Mail and locate the message with the .vcf file attached.
- Tap the attachment to open the preview.
- Tap the iOS sharing icon (the square with the arrow pointing upwards).
- Select Import with Contacts.
- You will be asked if you want to add all contacts as Create new contacts or Join with existing. Choose the right option for your needs.
With these steps, your column will be successfully transferred from your old Android to the new iPhone.
Conclusion
Recovering or transferring smartphone contacts is not an impossible task, indeed. Whether you're going to a new device, accidentally deleted numbers or simply want to have a secure backup, the available options are multiple and relatively simple to implement. The synchronization with the Google account remains the most efficient method for daily management, ensuring that your contacts are always up-to-date and accessible from any device. However, the versatility of the VCF format offers a solid alternative for specific situations or for those who prefer more manual control.
Always remember the importance of keeping your backups up to date and periodically verify sync settings. In this way, your precious contacts will always be safe and at hand, regardless of the challenges that the digital world will present to you.


