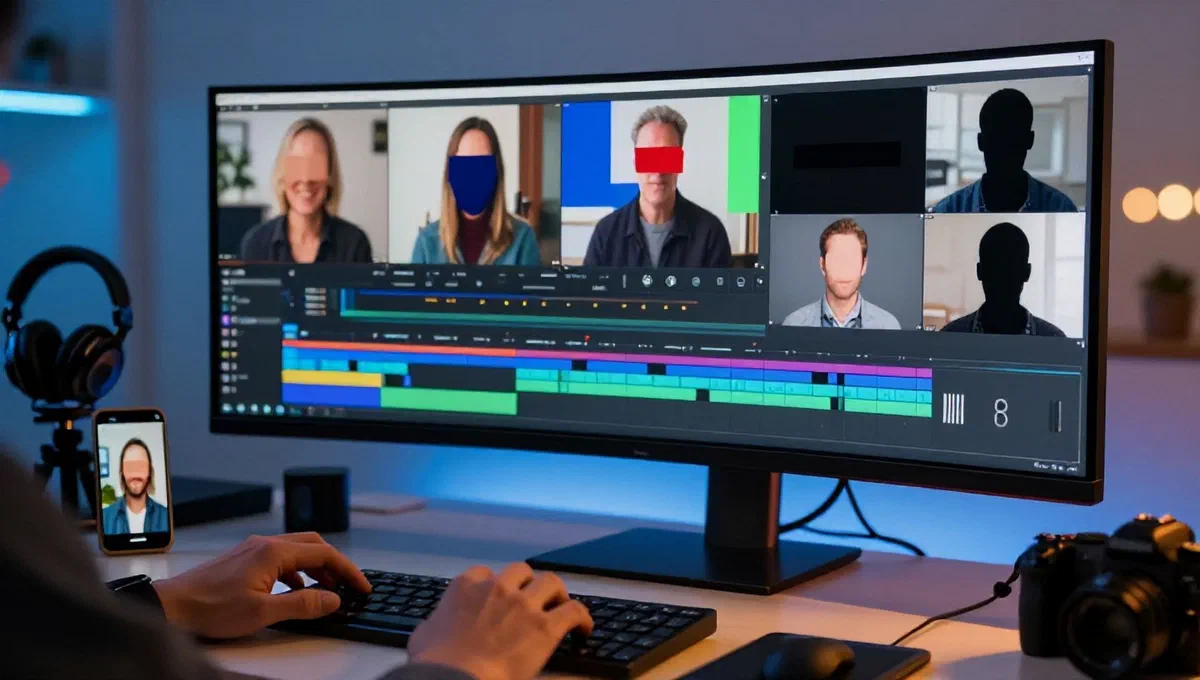
In the world of video content creation, privacy protection has become an ineludible priority. whether it is a personal project, a documentary or a video destined to the web, often emerges the need to obscure the faces of non-consensitive individuals or requiring anonymity. this operation, which once seemed to be exclusive to assembly professionals, is now within reach of everyone thanks to a wide range of tools.
The act of censoring a face in a video is not only a matter of respect, but sometimes a legal necessity to avoid violations of privacy. fortunately, there are solutions suitable for every level of expertise and budget, from free and open source software to professional applications, through online publishers and mobile apps. the goal is clear: to make the identity of a subject untraceable, just as frequently seen in television or viral videos.
Why is it important to censor the faces in the videos? #
The need to obscure the faces goes far beyond the simple aesthetic preference. in a time when the spread of images is instantaneous and global, the protection of personal data is fundamental. filming people in public or private places without their explicit consent can entail significant legal implications. the censorship of the faces serves:
- privacy protection:* protecting the identity of minors, victims of crimes or persons who do not wish to be recognizable.
- ** legal compliance:** respect regulations such as gdpr and other privacy laws, avoiding fines or litigation.
- ** professional ethics:*** demonstrate respect for the subjects recovered, consolidating their reputation as a creator of responsible content.
This process, once mastered, adds a touch of professionalism and responsibility to any video production.
Desktop software for video censorship #
For those who prefer to work on computers, there are several software options, which vary in complexity and cost. below, we analyze some of the most effective solutions.
Avidemux: the free and versatile solution #
Avidemux is a totally free, open source and multiplatform video editing software, available for windows, macos and linux. it is an excellent choice for those who approach this operation for the first time, offering basic but effective functionality for censorship.
How to use avidemux to censor a face: #
- start and upload video: download and install avidemux. launch it and select your video through the file > open menu.
- configuration output: in the left sidebar, choose the desired output format (e.g. mpeg4 asp (xivd4)) from the drop-down menu under output video. for audio, you can leave the copy option to keep the original track.
- filter application: go to video menu, select filters. in the new window, click on nice and then double-click the mplayer delogo filter.
- position and mask size: in the window that will open, act on the parameters x, y, width and height to position and resize the face censorship mask. save changes with ok.
- preview and save:* to view the effect, go back to the video menu, choose play filtered and click the play button on the bottom left. if the result is satisfactory, save the video via file > save.
consideration important: avidemux applies a fixed mask. if the subject moves significantly in the video, you will need to cut the video in multiple sections and apply censorship to each, repositioning the mask, then join the parts. this requires a little more patience but it is absolutely feasible.
Filmora: the semi-professional approach #
Filmora is a semi-professional video editor available for windows and macos, which stands out for its intuitive interface and advanced features, including face censorship. it offers a free version that applies a watermark, removable with the purchase of a paid license (from about €49.99/year).
How to use filmora to censor a face: #
- installation and start: download filmora from the official website. after installation, start the application and choose to create a new project.
- importation video:* login to the my media menu, select import (e.g. import media files) and drag your video to the timeline at the bottom of the screen.
- application of the face-off effect:* click on the effets button (the stick icon with the star). in the top search bar, type “face off”. drag the face-off* effect on the video timeline.
- preview and export:* click the play button to see a preview. filmora’s face-off effect is designed to automatically track the face, making the process much easier for moving subjects. once satisfied, press export, choose format and location, and decide whether to export with or without watermark.
Other professional video editing programs #
For those looking for tools with extremely precise tracking and masking features, professional software is the best choice. although they are paid and require a steeper learning curve, they offer unparalleled control.
- *adobe premiere pro (windows/macos): a reference point in the video editing industry. includes advanced tools for masking and tracking objects (and faces) in motion, allowing dynamic and precise censorship. available via monthly subscription after free trial.
- vegas pro (windows): another powerful windows software, appreciated for its non-linear editing capabilities and advanced masking features. it offers a free trial and several subscription options.
- final cut pro (macos):* developed by Apple], is the leading video editor for mac users. it integrates perfectly with the ecosystem Apple and offers professional masking and tracking tools. after a generous free trial, it can be purchased with a one-time payment.
These programs are ideal for projects that require sophisticated censorship, with advanced customization possibilities such as blur type (pixel, gaussiana, etc.) and its intensity.
Censor faces directly online: the editor of youtube #
If your video is intended for youtube or is already loaded on the platform, you can censor your faces directly through the built-in editor, an extremely convenient and free solution for content hosted on the famous video sharing site.
How to use youtube editor for censorship: #
- access to youtube studio: register on the youtube homepage, log in with your google account and click on your photo/initial (top right), then select youtube studio.
- selection video:* on the new page, click on the content item. choose the video you want to act on (or upload it if you haven’t done) by clicking on its cover photo.
- application:** click on editor. next, select the sfoke option.
- **school type choice: *
- facial spout this option allows the youtube algorithm to automatically scan and locate the faces present in the video. you can then select which blur. it is ideal for automatic tracking of moving faces.
- customized blur: allows you to manually add a blur, choosing shape, duration and behavior. useful for specific objects or video areas that the algorithm does not recognize as faces.
- save: once the blur is applied and the result is checked, click the save button twice in a row to make the changes effective.
This method is particularly beneficial because it does not require software downloads or in-depth technical knowledge and maintains the quality of the original video, applying censorship directly on youtube servers. there are also other generic online video editors that offer similar features, useful if the video is not intended for youtube.
Mobile apps to censor faces in video #
For those who work mainly from smartphones or tablets, there are several applications that make the censorship process quick and accessible in mobility. these apps are often intuitive and offer good results for non-professional needs.
- putmask (android): this application has been developed specifically to add blurring on the faces present in movies on android devices. it is free and focuses on the main feature of censorship.
- video mosaic app (ios/ipados):* designed for users Apple, this app lets you blur faces with automatic tracking. the basic version is free, but access to all advanced features requires in-app purchases.
- movstash (ios/ipados): another free device app Apple, movstash excels in censoring faces in the videos, following them automatically during the movement. it is an effective and user-friendly solution.
The use of these apps is usually very simple: you import the video, you select the area to blur (that the app often recognizes automatically as a face) and you export the modified video.
Final considerations #
Censuring a face in a video is an operation that, as we have seen, can be faced with different tools depending on your needs and your level of experience. whether you are looking for a free and fast solution for a home video, a semi-professional tool with automatic tracking, or an advanced software for more complex productions, the offer is wide.
Choose the program or app that best suits your needs, consider the time you have and the degree of accuracy required. with some practice, you will be able to ensure privacy in your videos effectively and professionally, contributing to a more responsible and aware use of video content.