Apple’s iPad is a versatile device, ideal for work, study and entertainment. However, it often happens to want to transfer files, photos, videos or music between the tablet and a computer, or simply to back up to safeguard your data. If you're faced with the problem of your iPad's lack of recognition by the operating system, or if you want to explore the different connection modes, you're in the right place. This complete guide will accompany you through all available options, from traditional software-based methods to wireless solutions and those that allow you to expand the functionality of your device.
The Starting Point: Connect iPad to Windows via iTunes
For Windows users, the reference software for iPad management and recognition is iTunes. Despite the latest versions of macOS have replaced iTunes with Finder and other dedicated apps, Windows remains the key tool to establish effective communication between Apple tablet and PC. Its installation provides the necessary drivers that allow Windows to correctly identify the iPad, thus opening the way to all data transfer and management operations.
Installing iTunes on Windows PC
The first step is to get iTunes. If you use Windows 10 or Windows 11, the easiest way is to download it directly from Microsoft Store. This option guarantees automatic updates and a simplified installation. Alternatively, you can always download the program from Apple's official website, making sure you choose the latest version and compatible with your operating system.
First Link and Authorization
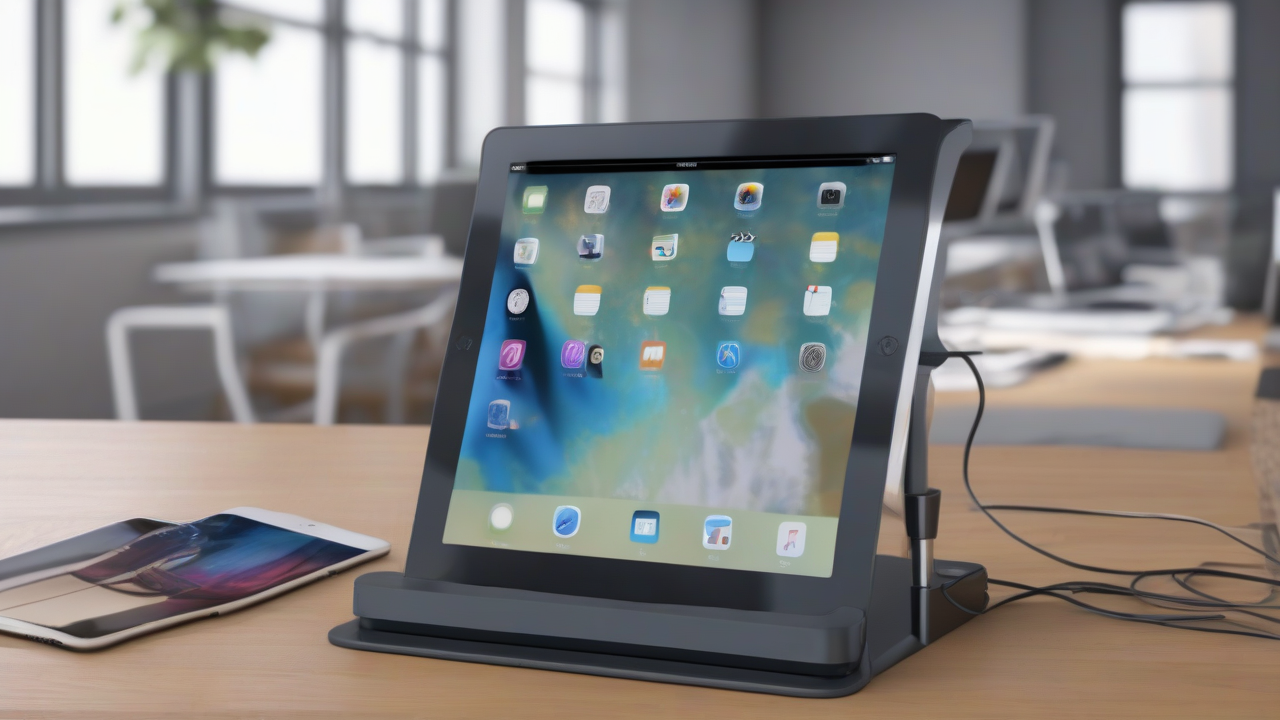
Once you install iTunes, you can proceed with the physical connection. Use the original USB-C or Lightning cable provided with your iPad, or a certified and optimized cable for Apple devices. The quality of the cable is crucial, since some generic cables could compromise the correct communication between tablet and PC.
- Connect the cable to your iPad and then to a computer USB port.
- Wait for iTunes to start automatically.
- On the first link, a notification will appear on the iPad that requires “authorizing” the computer. Tap the corresponding button and, if required, enter the unlock code of your tablet. This operation is essential to establish confidence between the two devices.
- After authorization, you will see the iPad icon appear at the top left of the iTunes window. By clicking on it, you will have access to all management options.
Advanced Data Management with iTunes
With the iPad correctly recognized by iTunes, different possibilities open for managing your content.
Make a Complete Backup
Backup is an essential operation to protect your data. At the first link, iTunes can start an automatic backup, but you can always run a manual whenever you want:
- In the left sidebar of iTunes, right click on the icon of your device.
- To make sure you save all your purchases (app, music, movies downloaded from the iTunes Store), select the item first Transfer purchases.
- Once the transfer is completed, click on Run backup.
Depending on the amount of data on your iPad and the speed of the USB port, the backup process may take a few minutes to longer. It is essential not to disconnect the iPad during this operation to avoid data corruption.
Synchronization of Music, Movies, Books and Photos
Synchronization via iTunes allows you to keep multimedia content updated between your PC and iPad. If a file is edited or deleted on a device, the edit automatically reflects on the other to the next sync.
- In the iTunes interface, click on the iPad icon (near the “Music” item above).
- In the left sidebar, select the content categories that interest you (e.g. Music, Movies, Books, Photos).
- For each category, you can choose to sync the entire iTunes library or just playlists, albums, videos or specific books.
- After selecting, click on Apply and then Synchronized down.
Important note: If you have enabled cloud services such as iCloud Music Library or iCloud Photo Library, iTunes standard synchronization functions for those specific categories will be disabled, as data management already takes place through the cloud.
Copy File Manual without Synchronization
If you prefer a more granular control and do not want files to be constantly synced, you can copy the content manually. This option is useful for transferring specific files without altering the entire library:
- In the iTunes sidebar, select Summary.
- Check the box Manage music and videos manually and click on Apply. (Remember that if you have an Apple Music subscription with iCloud Music Library, you will not be able to manually transfer music files, but you will need to upload them to the iTunes library to sync via cloud).
- Now, select one of the categories under the heading “On Device” (e.g. Music, Movies, Books).
- Drag the desired files directly into the iTunes window or right click on the content and select Add to device and then the name of your iPad.
Some iPad applications also support File sharing via iTunes. Select this entry from the left side bar and drag the files directly into the app area of your interest to transfer them to your tablet.
Transfer Photos and Videos from iPad to Computer (also without iTunes)
For photos and videos, iTunes is not the only way to transfer, especially if you want to import media from tablet to PC. Although the drivers installed by iTunes are useful for recognition, the import process can take place with native tools.
Using Windows Import
On a Windows PC, you can import photos and videos as you would with a digital camera:
- Connect the iPad to the cable PC.
- Open it Explore files (or “computer responses”) and look for the icon of your iPad.
- Right-click the iPad icon and select Import images and videos.
- Follow the on-screen instructions to select the photos and videos to import and the destination folder.
Transfer via iCloud Photos
If you have activated syncing photos with iCloud Photos, access to your shots is even easier and requires no cable:
- Access the iCloud website from your browser on your PC.
- Login with your Apple ID credentials.
- Click on the icon Photos. Here you can view all photos and videos uploaded from your iPad to the cloud.
- To download them, select the desired items and click on the download icon (a cloud with a down arrow) at the top right.
Wireless Sync: Free from Cavi
One of the most convenient features of iTunes is the ability to sync your iPad with your computer without the help of cables, using the Wi-Fi network. To activate this option:
- First connect the iPad to the cable PC.
- In iTunes, select the entry Summary in the sidebar.
- Check the box Synchronize with iPad via Wi-Fi.
- Click on the button Apply down to the right.
For wireless synchronization to work, both devices (iPad and computer) must be connected to the wi-Fi network. In addition, the iPad must be connected to a power source (so in charge) to start automatic synchronization wirelessly.
Alternatives to iTunes: Other Management Software
If iTunes does not meet your needs or seek deeper control over your iPad files, there are several third-party applications that offer similar or even higher features. Among the most famous are:
- iExplorer: It allows access to the iPad file system in more detail, displaying content that is normally not accessible.
- iMazing: It offers complete backup, music transfer, messages, photos and other apps, with an intuitive interface.
Both of these software are usually available for free download, but to unlock all features and remove restrictions on data transfers, you are often required to purchase a license.
iPad and Mac: Management with Finder
For Mac users, from macOS 10.15 Catalina, iTunes has been dismembered and its features have been integrated directly into the operating system. iPad management is now mainly through Finder.
Connecting the iPad to the Mac, you will see the device appear in the Finder sidebar, just like an external drive. From there you can back up, sync music, movies, photos and manage apps with an interface very similar to what you had with iTunes, but perfectly integrated into the operating system.
Extend iPad Experience: Connection to an External Monitor
The iPad can be transformed into a portable workstation by connecting it to an external monitor, offering a wider and comfortable workspace. With the addition of a Bluetooth keyboard and mouse, the experience becomes almost comparable to that of a fixed or portable computer.
For this connection, you will need specific adapters that transmit the video signal from the iPad to the monitor. The latest iPads, equipped with USB-C port, can use USB-C multiport adapters to digital AV (HDMI) or USB-C to direct HDMI. These adapters will allow you to replicate your iPad screen or, in some cases, extend it, depending on the iPad model and iPadOS version.
AirPlay on Mac: Your Mac as iPad Monitor
If you own a Mac with macOS 12 Monterey or later, you can use an even more elegant feature: use your Mac as an AirPlay receiver. This means you can wirelessly transmit the screen of your iPad (or iPhone) to your Mac without needing cables or adapters.
As long as the two devices are nearby and connected to the same Wi-Fi network. Your Mac will automatically appear as an option in your iPad's AirPlay menu, allowing you to easily share the screen and turn your computer into an auxiliary display for your tablet.
Conclusion
Connecting the iPad to your computer, whether it is a Windows PC or a Mac, is a versatile and rich operation of possibilities. Whether you want to make a simple backup, transfer your music library, manage photos or turn your tablet into a real workstation with an external monitor, there are solutions suitable for every need. From native tools such as iTunes and Finder to wireless options and third-party apps, managing your data and expanding the functionality of your iPad are within reach, ensuring a smooth and productive user experience.


