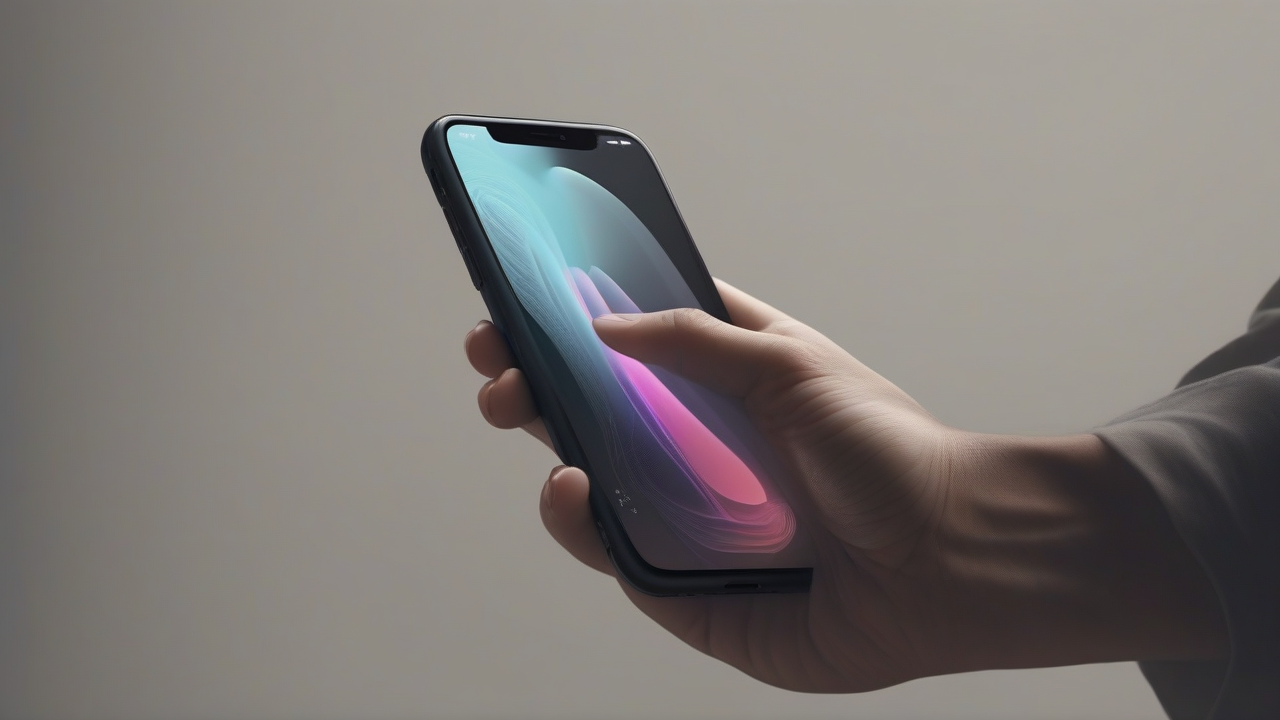
Visual experience with your smartphone is crucial, but for some users, problems such as daltonism can make the display of content less comfortable or even frustrating. Fortunately, the iOS operating system, present on the iPhone, offers a series of advanced accessibility features, designed to mitigate these discomforts and optimize color perception, allowing everyone to fully enjoy their device. From the simple color reversal to the activation of the dark theme, there are several strategies to customize the interface. In this in-depth guide, we will explore how to make the most of these options, both to improve general usability and to apply creative effects to your images.
Color Reversal on iPhone: Fundamental concepts
Before immersing ourselves in activation procedures, it is essential to fully understand what color reversal means and what its implications on the interface of your iPhone are. This function, as the name suggests, radically alters the chromatic representation of the screen, exchanging the original color values: black turns into white, white in black, and the other shades undergo a similar conversion, creating an effect that reminds a lot of that of a “photonegative”.
iOS provides two distinct inversion modes, each designed for specific needs:
- Classical Inversion: This is the most direct mode and acts indiscriminately. All the colors displayed on the screen are reversed, without exception. It is ideal for those looking for a complete transformation of the interface, but can be less practical with multimedia content such as photos and videos, which will also appear inverted.
- Smart Inversion: It represents a more refined and intelligent solution. While inverting the user interface colors (texts, backgrounds, system elements), Smart mode has the ability to recognize and preserve the original chromaticity of multimedia elements (photos, videos) and some specific interface components, such as system buttons or app icons that already use dark shades. This option is often preferable for everyday use, as it guarantees a more consistent and less invasive experience.
The main purpose of these functions is the field of visual accessibility. For people suffering from daltonism or other difficulties in distinguishing colors, inversion can make texts more readable, the sharpest contrasts and, in general, the most usable interface. Moreover, even for those who have no specific problems of view, color reversal can help reduce eye fatigue in low light conditions or simply offer an aesthetic alternative.
How to Activate Color Reversal on Your iPhone
Activation of color reversal is a simple process and can be managed through device settings or through the Control Center, offering flexibility according to your preferences.
Through Accessibility Settings
The most common and detailed path to enable this feature involves using the Settings app:
- First, locate and tap the icon Settings (the gearbox) on the Home screen or in the iPhone app library.
- Scroll down and select the item Accessibility.
- Inside the Accessibility section, search and tap Screen and Text Size, located under the category “Vista”.
- At this point, you will have two distinct options:
- To enable the most advanced and less intrusive color reversal, move on ♪ the switch next to Smart version.
- If you prefer a total and indiscriminate reversal of all colors, move on ♪ the switch next to Classical Reversion.
The changes will be applied instantly, and you can immediately notice the color change of the interface. If you want to return to the default settings, just follow the same path and bring up OFF the switch corresponding to the reversal mode you had previously activated.
Quick activation through the Control Center
For even faster access, you can add color reverse controls directly to your iPhone Control Center:
- Open the app Settings and select Control Centre.
- Scroll down to the “Other controls” section and search for voices Classical Reversion and/or Smart version.
- Tap the button + (more) green next to each item you want to add to your Control Center. You can add both controls if you want.
- Once added, you can reorganize their position by dragging them up or down into the list.
- To turn on or off the reverse, open the Control Center (by going down from the top right corner on the models with Face ID, or up from the bottom edge on the models with Home key) and tap the icon corresponding to the control you added. When a control is active, its icon will light up.
The Dark Theme: An Alternative for Visual Comfort and Efficiency
In addition to color reversal, iOS offers another powerful function to improve visual comfort and energy efficiency: the Dark Theme. Introduced by Apple, this mode transforms the entire user interface, “dipping” most elements with dark shades, mostly black or dark grey.
The benefits of the Dark Theme are multiple:
- Reduction of Visive Effect: In light or in the evening, the use of a light theme with a lot of white light can affect the eyes. The dark theme reduces the emission of blue light and the general contrast, making reading more enjoyable.
- Energy saving: On iPhones with OLED displays (starting from iPhone X), black pixels are turned off. This means that the dark theme can significantly help extend battery life, especially if used for long periods.
- Best Visibility of Content: For some, the light text on a dark background can improve readability and content highlights, offering a different but equally valid user experience.
Activate the Dark Theme
The ability of the Dark Theme is intuitive and can be set to activate automatically according to your preferences.
Using Screen and Brightness Settings
- Open the app Settings.
- Select Screen and brightness.
- In the “Aspect” section, you will see two options: Clear and Dark. Select Dark to activate the theme immediately.
For automatic activation, within the same screen “Desk and brightness”:
- Enable the switch next to Automatic.
- Tape Options and choose between:
- From sunset to dawn: The dark theme will automatically activate at sunset and disable at dawn, adapting to the natural light cycles of your location.
- Custom programming: It allows you to set specific times for the activation and deactivation of the dark theme.
To deactivate the dark theme at any time, even if set to automatic, you will just return to “Light and Screen” and select the option Clear. To disable automatic activation, bring up OFF the switch next to “Automatic”.
Activation of the Dark Theme from the Control Center
A quick check is also available for the Dark Theme:
- Go Settings > Control Centre.
- Search Dark mode in the “Other controls” section and tap it to add it.
- Once added, open the Control Center and tap the icon of the Dark mode (a circle divided in half, white and black) to activate or disable it quickly.
Reverse Photo Colors on iPhone: The “Negative” effect
While iOS offers robust functionality for reversing interface colors, there is no specific native function to apply a “negative” effect directly to photos saved in your gallery. However, the vast ecosystem of third-party apps on the App Store offers different excellent solutions to achieve this, allowing you to transform your shots with ease.
Negative Photo Effects
This application is one of the most direct solutions to achieve a negative effect on your images. It allows you to edit photos by applying a filter that reverses colors quickly and intuitively.
- Functionality: The app allows you to take a photo at the moment or select one from the gallery. Once loaded, you can apply the negative effect, even on specific portions of the image using a adjustable “ring”.
- Availability: It can be downloaded for free, but it offers in-app purchases to unlock complete features.
- Procedure: After downloading and launching the app, grant the required permissions. Choose whether to take a new photo or select an existing photo. Tap “Negative” and then pass the finger on the areas of the photo where you want to apply the effect. Once satisfied, press “Save” to save the modified copy in your iPhone gallery. You can also share the image directly on social networks.
Other Photo Editing Solutions
If you are looking for more powerful tools or additional functionality for photo editing, which also include the possibility of manipulating colors in a creative way, here are some well-known alternative apps:
- Adobe Photoshop Express Photos: The mobile version of Adobe's famous desktop software. It offers a wide range of photo editing tools, including the ability to reverse colors or adjust them accurately. The app is free with some advanced features available via Adobe Creative Cloud subscription. It is ideal for those looking for detailed and professional control over their images.
- Snapseed: A Google-owned application, appreciated for its intuitive interface and full set of editing tools. Snapseed is totally free and offers different options for manual color adjustment, which can be used to create reverse effects or color alteration. It is a great choice for users who want flexibility and quality at no cost.
- Darkroom: This app is a powerful photo and video editor, which while being oriented towards professionals, maintains a surprisingly simple user interface. Integrates professional tools, including a function for color reversal. Darkroom is free to download, with in-app purchases to access all its potential, making it an excellent choice for those seeking a balance between ease of use and advanced tools.
In conclusion, the iPhone is a versatile tool and attentive to the needs of all users, offering integrated solutions and a vast ecosystem of applications to customize the visual experience. Whether you need to facilitate reading due to daltonism, reduce eye fatigue or simply explore new creative possibilities with your photos, the options described in this guide will provide you with all the tools you need to optimize your device.


