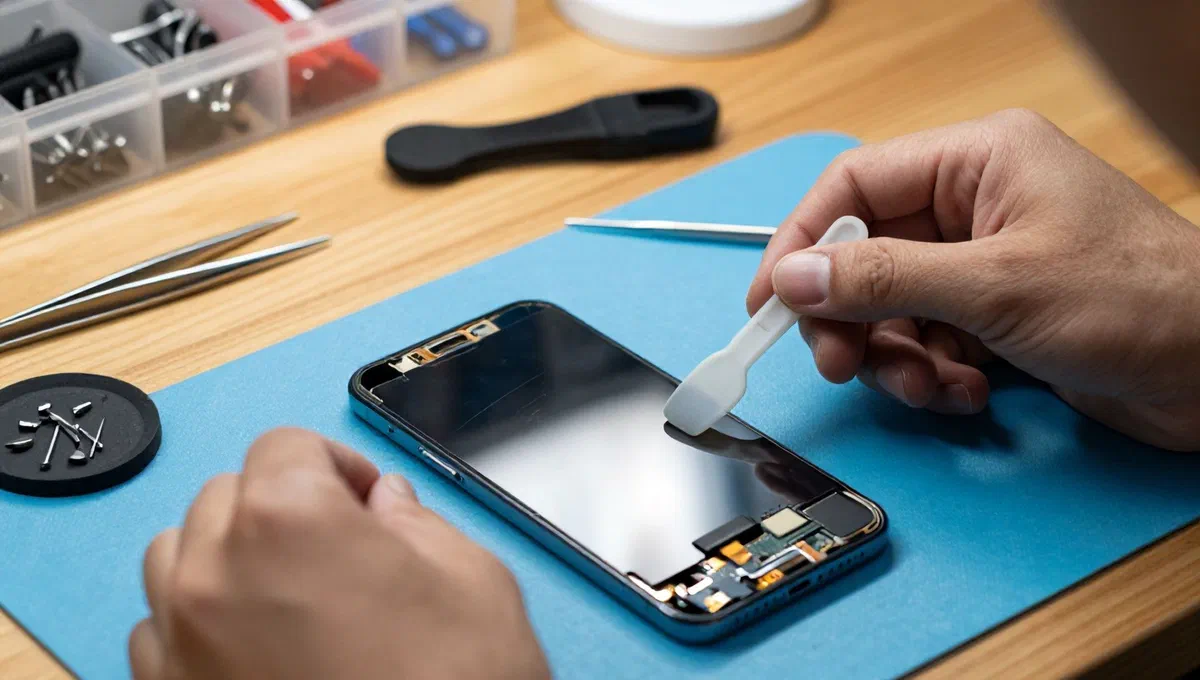
Did your iphone start showing signs of failure, with issues that do not seem to be solved through simple software interventions? it is possible that malfunction is of a hardware nature. in this scenario, many users consider the option to independently repair their device, driven by the desire to contain the costs of assistance and to face a new, challenging challenge. if you are also thinking about trying to open your “melafonino”, this guide is designed to provide you with a complete overview of essential steps and indispensable precautions to adopt, regardless of your iphone model.
It is essential to clarify immediately that the procedure for opening and repairing an iphone is not a simple operation. it requires a considerable dose of concentration, free time available and good dexterity. moreover, a crucial aspect to consider is that, if your device is still covered by warranty, opening and any unauthorized repair attempt will result in immediate disability. it will also be necessary to find specific tools and, if necessary, original or compatible spare parts to ensure effective intervention without further problems.
Preliminary operations #
Before immersing yourself in the open procedure, there are some preliminary steps that cannot be neglected. these operations are crucial to ensure not only the safety of the device and the operator, but also the maximum chance of success of the operation.
Warranty status verification #
As mentioned, the verification of the guarantee is the first step to take. the opening of your iphone, especially if covered by standard warranty or applecare+, will cancel this coverage. if you want to avoid this eventuality or simply want to have a clear picture of the status of your device, it is advisable to ensure that you have any form of assistance or active support.
To do this, you can connect to the dedicated web page of Apple to control the warranty and activation status of applecare+. here, you will need to enter the serial number of your iphone in the appropriate field. the serial number is easily available on your device, navigating in settings > general > info. after entering it, click on “send” to view all relevant details.
Alternatively, you can check the warranty status directly from your iphone, by going to settings > general > info* and by consulting the information provided next to the item “garanzia” or “garanzia limited” (or similar items). this simple operation will provide you with all the information you need to make a conscious decision regarding your intervention.
Equipment and spare parts #
To proceed with the opening of the iphone, you will need a series of specific tools, hardly present in the standard home tool kit. the same applies to any spare parts that may be necessary. there are several reliable sources to get you what you need, depending on your iphone model and your needs.
Apple self-service repair store #
Apple has made available a “self-service repair store”, a channel through which users can buy or rent original tools and spare parts. this store is managed by a third authorized supplier, ensuring that the equipment and components are the same used in the authorized service centres Apple, in the repair centers Apple] and in Apple store. opting for these materials ensures the highest quality, compatibility and reliability of the intervention. however, it is important to note that the repair guides and tools available through this channel are generally intended for the latest iphone models.
To consult the guides and identify the necessary materials, you can access the Apple iphone self-service repairs web page. here, select the specific model in your possession (for example, iphone 15) and on the next page, search for the link “iphone [model]: repair manual”. inside the manual, locate the procedure that solves your problem (for example, “battery”) and click on it. the guide will illustrate the steps to open your iphone and, under the heading “tools”, you will find the list of tools you need. to buy or rent, go to the store, start the order by filling out the fields “product”, “product model” and “repair type” to view the original components Apple] and the tools suitable for your case, then proceed to purchase.
Ifixit #
Another extremely valid resource, especially for less recent iphone models, is ifixit. this well-known portal offers detailed and richly illustrated guides for disassembly and repairing a wide range of electronic devices, including all iphone models. the site, edited by a team of specialists, is rich in images and lists for each operation the necessary tools.
To use ifixit, connect to its main page, move the cursor to the item “add your things” and select the option “repair guides”. next, navigate to telephones > Apple iphone and choose the specific model of your device. on the dedicated page, select the component you want to replace or repair (for example, “battery” or “rear cover”). detailed step-by-step instructions will be shown, accompanied by a list of the necessary tools and spare parts, usually divided into the “ricambi” and “tools”. generally, it is precision screwdrivers, suction cups, tweezers to handle small components and the like. for purchase, you can directly rely on ifixit e-commerce or, with caution to verify compatibility and authenticity, to platforms like amazon or ebay.
Preparation of the device and working surface #
Before any intervention, it is essential to prepare both your iphone and your environment. this phase guarantees the safety and efficiency of the process.
Shutdown of the device #
The first and most important step is to completely turn off the iphone. press and hold the on/off key and one of the volume keys for a few seconds until the lever appears on the screen. scroll the lever to turn off the device. make sure the screen is completely off before proceeding.
Removal of protections and sim card #
Once turned off, remove any protective film, cover or case applied to your iphone. then, extract the sim card from its housing. to do so, use the metal clip provided in the original packaging of the iphone (usually inserted in a white cardboard) or, alternatively, a common metal stick slightly bent. insert the tip into the small hole on the right side of the device and exert a strong pressure until the sim cart is expelled. pull out the cart, remove the sim and put it back in a safe place.
Preparation of the working surface #
Prepare a well-lit, stable and equal work plan. it is advisable to clean the surface with a damp cloth to eliminate dust, dirt or debris that could damage the internal components of the phone, and let it dry completely. to protect your iphone from accidental scratches during the operation, you should have a soft cloth, preferably in microfiber, on which to rest the device and its disassembled components.
The opening procedure of the iphone #
At this point, with all the completed preliminary operations, you can proceed to the physical opening of your iphone. for this crucial phase, it is highly recommended to refer to detailed and specific guides for the model of your device, available on the sites mentioned above: Apple self-service repair and ifixit.
These portals offer step-by-step instructions, often accompanied by high-resolution images or video tutorials, which show exactly how to disassemble your iphone in relation to the component you intend to intervene on. operations can vary significantly between one model and another, and also between different repairs on the same model (for example, replacing the battery is different from replacing the screen).
Follow the directions provided by the guides carefully. in case of doubts about a particular operation, especially on ifixit, you can consult the comments section under each guide, where other users share their experiences and advice. sometimes the ifixit team also answers questions directly. for further information, the ifixit forum is a valuable resource.
In addition to textual and photographic guides, video tutorials are often available on ifixit that illustrate in detail every step of removing the various components. youtube can also be a source of useful videos; however, it is essential to exercise discernment and select only movies from reliable sources, discarding improbable or potentially harmful procedures.
Once you complete the disassembly, repair and reassembly operations, you can re-enter the sim card and reapply the protective films or the covers you had removed.
When evaluating professional assistance Apple #
Despite the attractiveness of the do-it-yourself, it is important to recognize that repairing an iphone can prove to be an arduous task. if, after examining the complexity and warnings of this guide, you feel that self-intervention does not do to your case, the most prudent solution is to direct the official assistance of Apple.
Apple offers different ways to contact your customer service and arrange professional repair. you can opt for telephone contact, use online support options via the Apple website, use dedicated support apps or, for more direct assistance, go personally to a Apple store or to an authorized service center Apple. the choice of mode depends on your needs and preferences.
Dealing with hardware repair of an iphone is an enterprise that requires preparation, accuracy and risk awareness. although it can offer a sense of realization and economic savings, it is crucial to carefully weigh every aspect before proceeding. we hope that this information has been useful to you to evaluate your next move and that, whatever your choice is, your device will soon come back to work perfectly.