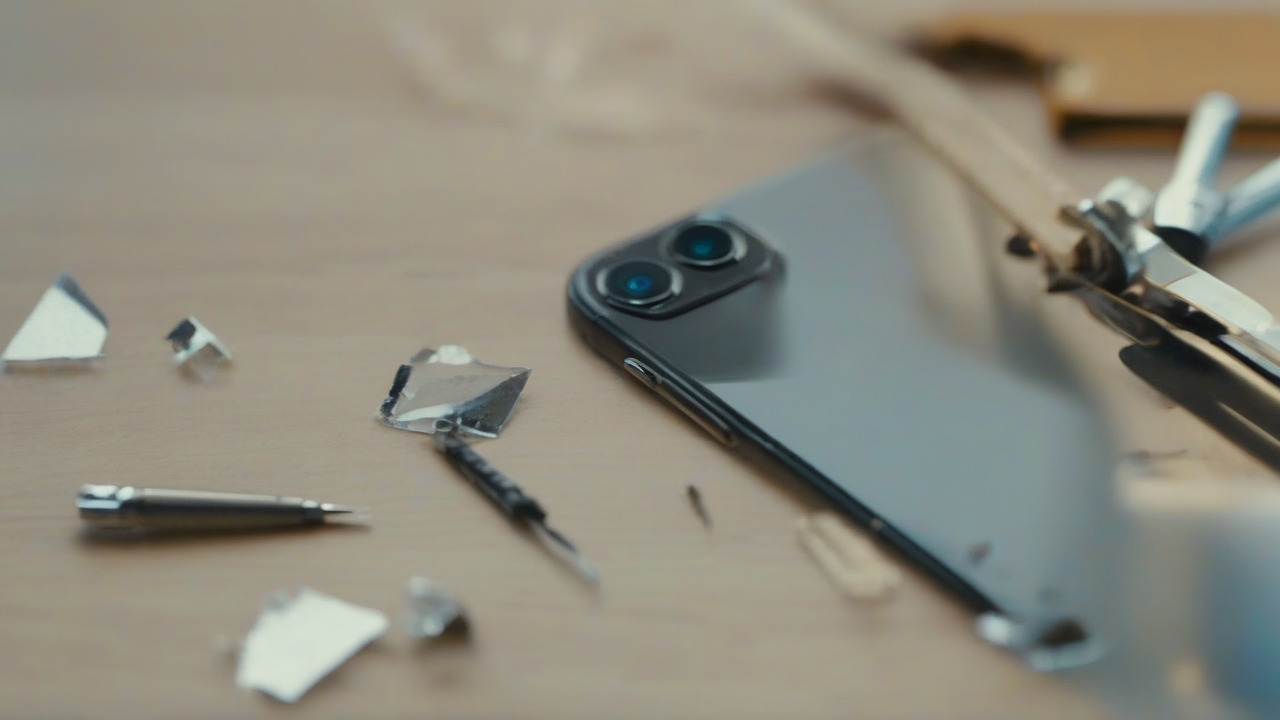
A moment of distraction, an unforeseen slide, and here is that your trusted iPhone suffers damage: the glass that protects one of the rear cameras cracks or breaks. The consequence is immediate: photos and videos no longer have the same clarity as before, and the experience of use is drastically affected. For many, the first reaction is to turn to a service center, but for those who have an inclination for the DIY and want to try themselves in an autonomous repair, the idea of replacing that small but crucial piece of glass becomes alluring. If you recognize yourself in this description and are wondering how to proceed to remove and replace the camera protection of your device, you are in the right place. This guide is designed to accompany you step by step through the entire process, providing you with the information and advice necessary to attempt this delicate operation.
Before Starting: Fundamental Warnings
Understand the repair of such a sophisticated electronic device as an iPhone requires risk awareness. It is essential that you be fully aware of the implications before tapping your phone. Here are the crucial aspects to consider:
- Warranty Invalidation: Any opening or modification of your iPhone performed by yourself or a center not recognized by the manufacturer entails the immediate disability of the warranty. This means that any future problem, even not related to current repair, will not be covered.
- Risk of Danni Further: The replacement of the camera glass is an extremely delicate operation. An error, excessive pressure, improper overheating or failure to remove glass fragments can cause irreparable damage to the camera itself or other sensitive internal components of the device.
- Specificity of the Model: IPhones, while presenting similarities, differ in design and internal components depending on the model. This guide provides general instructions. For your specific model, you may need to consult more detailed external resources that illustrate the peculiarities of your device. Do not proceed if you are not sure that the instructions apply to your model.
- Competence and Patience: The operation requires dexterity, precision and above all a lot of patience. Don't rush. If you do not feel up to or have the slightest doubt, it is always preferable to rely on professionals.
Clear these aspects, if you have decided to proceed independently, be prepared to follow each step carefully.
Necessary Equipment for Intervention
To perform this repair, you will need some specific tools. Make sure you get them all before you start to avoid interruptions and facilitate the process:
- Cover-Objective Glass Replacement Kit: This kit is the heart of repair. It should include the replacement glass for the rear camera and, ideally, useful accessories such as precision pins and specific stickers. When you purchase the kit, carefully check that it is compatible with the exact model of your iPhone and the lens you want to repair. There are different variations depending on size and shape.
- Thermal Gun or Phon (dryer): These tools are essential to soften the adhesive that keeps the damaged glass in place, facilitating its removal. It is crucial to use them with caution: set an average temperature and apply heat for short periods, moving the instrument constantly to distribute heat evenly. Excessive overheating can damage the internal components of the iPhone. The goal is only to nurture the area, not to make it roaring.
- Protective glasses: Security first. During the removal of broken glass, small fragments can detach and splash. Wearing protective glasses is an indispensable individual protection device to protect your eyes from injury. Don't underestimate this.
- Microfiber cloth (Optional but Recommended): Useful to gently clean the surface of the phone and the lens of the camera (with extreme caution) before installing the new glass, ensuring the absence of dust or residue.
- Carton Piece Thickness (or Similar Material): It will serve as protection for camera lenses not involved in repair, avoiding accidentally heated or damaged during the process.
Having all the equipment at your fingertips will allow you to work more efficiently and safely.
Step-Pass Guide to Glass Replacement
Follow these steps carefully. Precision is the key to a positive outcome.
1. Preparation of the Device and the Working Area
- IPhone shutdown: Before any operation, completely turn off your iPhone to avoid short circuits or accidental damage to electronic components.
- Area setting: Choose a clean, well-lit and dust-free work area. A stable table with a flat surface is ideal.
- Personal protection: Wear your protective glasses for your safety.
2. Heating and Removing Damaged Glass
- Area heating: Use the thermal gun or the hairdryer set at average temperature. Direct the hot air flow to the damaged glass area for about 15-20 seconds, moving the instrument to distribute heat. This will soften the adhesive below. Make sure to cover the other lenses with a cardboard piece often to protect them from heat.
- Removal Cautelosa: With the tweezers included in the kit, it begins to remove with extreme delicacy the broken glass fragments. Work slowly, one piece at a time. If you encounter resistance, heat the area again for another 10-15 seconds and try again. Patience is fundamental at this stage.
- CRITICAL ATTENTION: It is vital to ensure that you do not leave any glass fragment inside the lens of the camera. Any minimum residue would compromise the quality of your photos irreparably. Moreover, for no reason, it touches the camera’s lens with your fingers or pointed tools, as you could scratch it or grease it, making it unusable.
3. Deep Cleaning of the Lenten
- Inspection and Cleaning: Once removed all the glass fragments and the old adhesive, carefully inspect the area to ensure that it is completely clean. If you notice dust or residue, you can use a dry microfiber cloth to gently clean the external surface, always making the utmost care not to touch the camera’s goal below. Avoid the use of liquids or chemicals that may damage the lens.
4. New Protective Glass Installation
- Preparation of the adhesive: Take the new replacement glass and its adhesive from the kit. If the kit includes multiple stickers, make sure you choose the correct size. Some kits provide glass with pre-applied adhesive, simplifying this step.
- Application of the adhesive: If the adhesive is not pre-applied, use the tweezers to place it accurately on the inner edge of the new protective glass, ensuring that it adheres perfectly and without bubbles.
- Remove Protective Sheet: Remove the protective foil from the adhesive (or directly from the glass if pre-applied).
- Positioning of the New Glass: With maximum delicacy and precision, place the new protective glass on the camera housing. Make sure it is perfectly centered and aligned. It carries out a slight uniform pressure to ensure weld adherence.
- Removal of the Final Film: Finally, remove any external protective film from the new glass.
5. Post-Repair functional verification
- Ignition and Test: After installing the new glass, turn on the iPhone. Open the camera application and test all features: snap photos, record videos, try different modes. Check that there are no blurring, alonies, black spots or other artifacts that may indicate dust residues or incorrect alignment.
- Visual Inspection: Check the area again to ensure that the new glass is well balanced and that there are no small cracks from which dust or moisture can infiltrate.
When Recurring Professional Help
Despite your good will and precision, problems may arise or you may feel insecure at some point. It's perfectly normal. In these cases, the DIY may not be the best solution:
- Specific Dubbis on the Model: If generic instructions do not seem enough for your specific iPhone model and do not find reliable and detailed guides elsewhere, it is wise to stop.
- Lack of Adequate Tools: If you lack the essential tools or are not of good quality, the risk of further damaging your phone increases exponentially.
- Uncertainty or Timor: If you do not feel completely comfortable with the operation or you are afraid to cause greater damage, the advice is not to proceed.
- Specialized assistance: In all these situations, the safest solution is to contact an authorized service center or a technician specializing in mobile repairs. Even if it involves a cost, the tranquility of a job done professionally and the potential preservation of the guarantee (if the initial damage has not already invalidated it) can apply the investment.
Prevention and Care
After dealing with repair, it is useful to remember some good practices to protect the camera and the entire device from future damage:
- Protective cover: Always use a cover that adequately protects the camera module, with raised edges.
- Protective film for the lens: There are tempered glass films specific to protect camera lenses, a minimum investment for extra protection.
- Attention to the environment: Avoid placing your phone on rough surfaces or where it could easily fall or slip.
Daily care and attention are the best allies for the longevity of your smartphone.
Conclusion
The replacement of the protective glass of the camera of an iPhone is an operation that, although feasible independently, requires careful preparation, appropriate tools and a good dose of dexterity and patience. The sense of satisfaction in being able to repair your device is remarkable, but it is essential to balance this desire with the awareness of the risks. Always carefully evaluate your phone skills and conditions before embarking on this adventure. If doubts persist, the most prudent choice will always be to rely on expert hands, thus ensuring the full functionality and durability of your precious smartphone.


