In the technological landscape of 2026, the multimedia experience on our computer has reached incredible immersion levels, but we often struggle with a frustrating limit: too weak audio. Many people are constantly wondering how to increase PC volume to fully enjoy a movie, participate in a video conferencing without losing a word or listening to your favorite playlist during work sessions. Understanding how to intervene correctly on system settings is not only a question of decibels, but concerns the overall quality of sound output and the longevity of the hardware components of the device. In this comprehensive guide, we will explore every corner of Windows and macOS operating systems, analyzing both integrated software solutions and third-party programs that are safer and more efficient available today on the market. Whether you're trying to push the small crates of your ultra-thin laptop or want to optimize the performance of your professional headphones, you'll find detailed instructions, little known tricks and technical tips to better manage every sound parameter. It is not just about dragging a slider to the right, but about balancing the frequencies, updating the drivers and sometimes overcoming the limits imposed by the manufacturers to get an immersive and crystalline experience, avoiding those annoying distortions that can ruin the listening or, worse, damaging your integrated speakers permanently.
Audio management on Windows 11 and previous versions
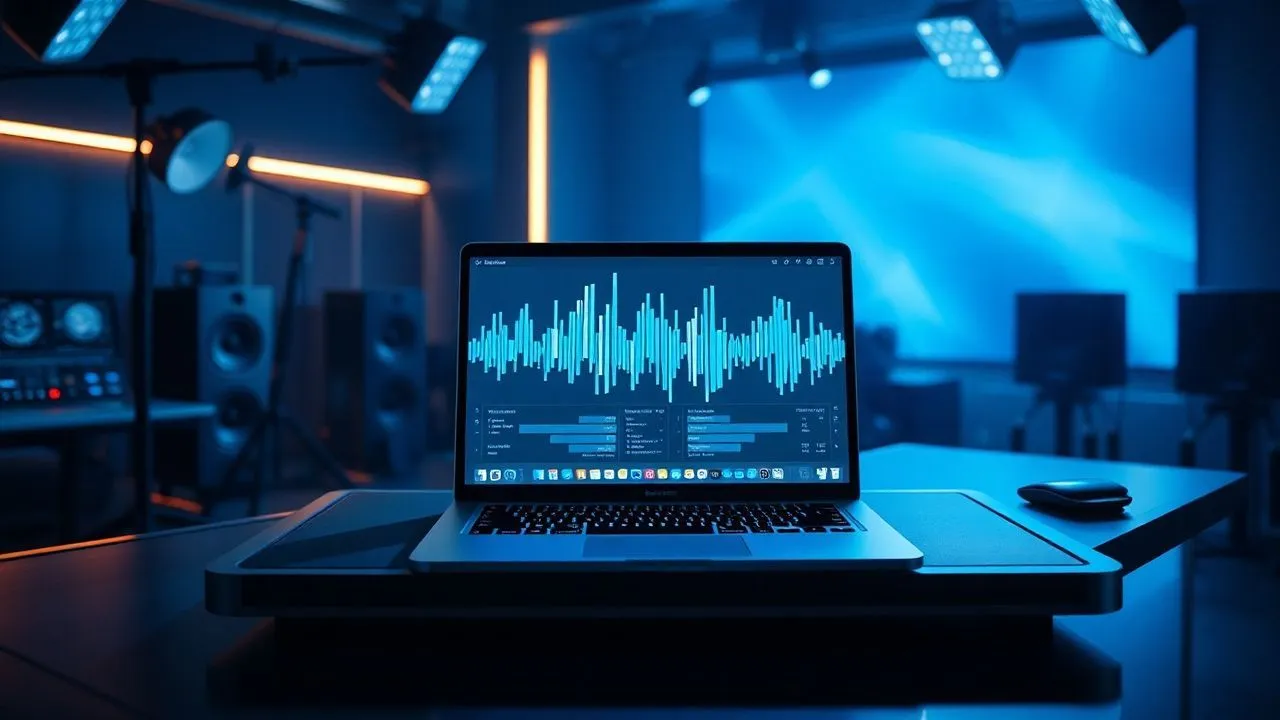
Using the integrated volume mixer
If you use the latest version of the Microsoft operating system in 2026, or Windows 11, the process to raise your computer audio has become extremely intuitive thanks to the redesign of Quick Settings. To start, move the mouse cursor to the bottom right corner of the screen, exactly over the network, battery and volume icons. Clicking on this area, you will see an appearance panel with a horizontal sound bar. By dragging the cursor to the right, you can instantly increase the general volume of the system. A useful trick for the most experienced is the use of key combination Win+Ctrl+V, which directly opens the modern Mixer Volume, allowing you to manage not only the main volume, but also the balance between the different applications opened at that time, ensuring a capillary control on each single sound source present in the system.
For those who still use older versions like Windows 10, the procedure remains similar but with a slightly different interface. Clicking on the speaker icon near the clock, the classic slider appears. However, the real potential is hidden by right-clicking that icon and selecting Open Audio Settings. Here you can access the advanced mixer that allows you to assign different outputs to different apps; for example, you may want to send the browser audio to the external speakers and that of a Skype call to headphones. This flexibility is essential for those who work in multitasking and need professional management of sound flows, ensuring that no system notice accidentally interrupts an important presentation or vision of a high quality multimedia content.
Adjustment for individual applications
One of the most powerful but often ignored functions to amplify Windows sound is the specific adjustment for apps. Often the general volume is maximum, but a particular program seems to play too slow. By accessing System Settings and browsing System > Audio > Mixer volume, you will find a complete list of all active applications. Windows 11 allows you to set a different volume percentage for each, which is extremely useful if, for example, you want Spotify's background music to be just audible while the audio of a video tutorial on YouTube should be predominant. This section also allows you to reset all volumes to the default values with just one click, a life saver function if you have messed up too much with levels and can no longer feel anything correctly.
For Windows 7 users or legacy versions, this operation is done by clicking on the speaker icon and selecting the Mixer item located just below the main cursor. A horizontal window will open where each program has its own dedicated indicator. It is important to note that the volume of the application can never exceed the limit set for the main volume of the system; therefore, to get the maximum, you must first bring 100% the general cursor and then act on the individual software. Remember that keeping the volume constantly to the maximum can cause a digital clipping, i.e. a signal distortion that reduces the clarity of the voices and the depth of the bass, so always seeks an optimal balance between power and cleaning of the output signal.
Using keyboard and hardware shortcuts
Function keys and quick combinations
The fastest and most natural way to change the audio without interrupting what you are doing is definitely the use of the keyboard. Most modern laptops and external keyboards in 2026 have dedicated multimedia keys, usually located in the upper line (F keys). Look for the icons depicting a speaker with sound waves: the one with more waves or with the (+) symbol serves to increase the volume, while the one with less waves or the symbol (-) decreases it. In many cases, to activate these functions, you need to hold the key F (Function) simultaneously with the specific key. This allows you to make quick adjustments even while you are on full screen during a game or a movie projection, without having to go back to the desktop or look for tiny icons with the mouse pointer.
However, there are situations where the keyboard does not have physical keys for audio, or they stop working due to corrupt drivers or software conflicts. In these scenarios, you can use free utilities such as Volume2, which allows you to map any key combination or even the mouse wheel to control the sound. For example, you could set that by turning the wheel while the cursor is on the task bar the volume increases or decreases. This level of customization is ideal for those looking for perfect ergonomics and want to minimize hand movements. In addition, many high-end gaming keyboards include a physical knob or a volume-dedicated roller, which offers superior tactile feedback and a millimeter accuracy in adjusting sound levels during the most intense sessions.
Configuration of input and output devices
A common error when trying to figure out how to increase PC volume is not to notice that output is set on the wrong device. If you have connected external speakers or Bluetooth headphones, Windows may continue to use integrated monitor or laptop speakers, which naturally have lower power. To check this, click on the volume icon and then on the arrow next to the cursor to see the list of available playback devices. Selecting the correct one is the first step to ensure that the sound power is the waiting one. In 2026, with the massive spread of advanced wireless standards, it is frequent that the system maintains a connection with a device in another room, leading the user to believe that PC audio is broken or too low when it is actually playing elsewhere.
- Always check that the 3.5mm jack is fully inserted into the correct port (usually green).
- Make sure the Bluetooth device is loaded and correctly coupled into Windows settings.
- Check if the external device has a physical volume control independent of the PC.
- Use the built-in audio troubleshooting tool in Windows if your device is not recognized.
- Periodically clean USB ports or audio connectors to avoid oxidation that reduce the signal.
In addition to the output devices, microphone management is also crucial. If your interlocutors do not feel well, you must act on the input volume. By browsing Settings > System > Audio, you will find the Input section where you can adjust the microphone gain. Moving the cursor to the right you will increase your voice, but be careful not to exceed the level of guard to avoid distortion or annoying background noise. Many modern microphones integrate noise cancelling algorithms that can unintentionally lower the volume if they detect too many ambient sounds, so make sure to properly calibrate the sensitivity according to the environment in which you are, whether it is a noisy office or a silent room.
Audio card software and driver optimization
System Driver Update
Often the problem of a dissatisfied volume does not lie in an incorrect setting, but in obsolete or generic drivers provided by Windows Update that do not fully exploit the hardware of the audio card. To solve this problem, you need to visit your PC manufacturer's website (such as Dell, HP, ASUS, or Lenovo) or audio card manufacturer (frequently Realtek or Creative). Downloading the latest version of the 2026 driver package ensures not only stability-related bug resolution, but often unlocks advanced control panels that include specific software amplifiers and equalizers. An up-to-date driver can make the difference between a metallic and weak sound and a powerful, full-bodied audio, as it optimizes communication between the operating system and the physical transducers of your speakers.
Once the correct drivers are installed, you will usually find a specific audio management icon in the Control Panel or the notification area (e.g. Realtek Audio Manager). Within these programs, search for options such as Volume Equalization or Loudness Equalization. This function is magical: it balances the volume differences between the quietest and noisy parts of a content, making everything medium and perceptible without having to continually touch the cursor. It is the ideal solution for those who watch movies where dialogues are whispered and explosions are deafening, allowing you to maintain a constant and far higher level of listening than the default Windows settings, which often limit output for security or energy saving reasons.
Using equalizer and audio enhancements
For those who want targeted loudspeakers, Windows offers built-in improvement options that can be activated with a few clicks. Go to Control Panel > Hardware and Sounds > Audio, select your default playback device and click Properties. On the Enhancements tab, you will find different options. In addition to the already mentioned volume equalization, you can activate the Bass Boost option to give more body to low frequencies, which makes you perceive sound as more powerful and full. Although these settings are basic to professional software, they are the fastest and safest way to increase volume perception without installing external programs that could weigh the system or cause instability.
- Access audio device properties from the classic control panel.
- Select the Improvements tab and check the boxes for the desired filters.
- Use the Virtual Surround option if you use headphones for a more spatial experience.
- Try the different equalizer presets (Rock, Pop, Live) to find the one with the greatest yield.
- Apply the changes and test the audio with a high quality music track to check the results.
Another key aspect is the default sample rate format. In the Advanced Device Properties tab, make sure a high quality is selected (such as 24 bit, 48000 Hz or higher). Although this does not directly increase the maximum volume, it improves signal fidelity by reducing digital background noise, allowing you to raise the volume without hearing that annoying smooth that often accompanies low resolution signals. In 2026, with audio lossless becoming the standard for many streaming platforms, correctly configuring these parameters is essential not to create software bottlenecks that degrade the final listening experience on your Windows computer.
How to increase volume beyond hardware limit
Third-party software and digital amplifiers
If after trying all system settings the volume is still insufficient, you may need a more drastic solution: a software amplifier. There are programs designed specifically to force audio output over 100% nominal. One of the most famous is Letasoft Sound Booster, able to increase volume up to 500% under certain conditions. However, we must proceed with extreme caution. These software works by amplifying the digital signal before it arrives at the audio card, which can easily cause distortions if not handled properly. In 2026, many of these utilities incorporate intelligent limiters trying to prevent clipping, but the risk of damaging the membranes of small laptop speakers remains real if you exaggerate with gain levels.
An excellent and more refined alternative is Equalizer APO, an extremely powerful open-source software that allows you to apply a pre-amp to the whole system. Unlike simple boosters, Equalizer APO acts at a deeper level of the operating system, ensuring almost nothing latency and superior signal quality. Combining it with a graphical interface like Peace GUI, it becomes very simple to increase the overall gain of some decibels. It is the preferred solution by audiophiles and gamers who need that extra volume touch to feel the steps of enemies or to compensate for headphones with a high impedance that the PC would struggle to drive properly without dedicated software help.
VLC and multimedia player with integrated booster
Often it is not necessary to increase the volume of the whole system, but only of a specific video file that was recorded badly. In this case, the easiest solution is to use a multimedia player like VLC Media Player. VLC is famous for its ability to increase volume up to 125% (and in previous versions up to 200%) simply by turning the mouse wheel or dragging the cursor over the bar limit. This integrated booster is very useful because it applies a dynamic compression that seeks to preserve the clarity of dialogues even at high volumes. It is a portable and secure solution that does not require permanent changes to your computer settings or installing invasive drivers that may interfere with other processes.
Using software to exceed the default volume limits must be made with awareness: excessive volume can cause permanent damage to hearing and hardware. It is recommended to increase the gain at small steps, constantly checking the presence of sound distortions that indicate the overcoming of the physical capabilities of the speakers.
In addition to VLC, many browser extensions such as Chrome or Edge allow you to boost the audio of websites. Extensions such as Volume Master add an additional cursor in the browser toolbar, allowing you to increase the volume of a single tab up to 600%. This is especially useful for YouTube videos or lesser known streaming platforms where original audio loading is extremely low. However, remember that these extensions only work within the browser and do not affect the programs installed on the PC, thus representing a specific solution for web browsing and not a global intervention on the operating system.
Audio management on Mac systems (macOS)
Apple System and Keyboard Settings
On Apple systems, macOS volume adjustment is known for its simplicity, but hides some tricks for those seeking superior performance. The main method is to open System Settings and navigate the Sound section. Here, in the Output tab, you will find the main volume cursor and balance between the right and left channels. It is essential to ensure that the output volume is at the most before looking for alternative solutions. From the keyboard, the F11 and F12 keys allow to lower and raise the sound with immediate visual feedback on the screen. A little known trick is the combination Option + Shift + Volume Up/down: this allows to adjust the volume in much smaller increments than standard ones, ideal to find the perfect level when a whole shot is too high or too low.
If you feel that the volume of your MacBook has decreased over time without apparent reason, the problem may not be software. In 2026, increasingly subtle designs make audio ducts easy to obstruct with dust or debris. However, before switching to physical cleaning, try resetting your Mac's core audio module by opening the Terminal and typing the sudo killall coreaudiod command. This command restarts the process responsible for sound management without having to restart the entire computer, often solving temporary bugs where the system seems blocked at a lower volume level or does not correctly recognize the passage between internal speakers and headphones connected via cable or Bluetooth.
Advanced solutions for macOS: Boom 3D
For Mac users who are not satisfied with the limit imposed by Cupertino, Boom 3D represents the reference standard. This is an award-winning app that acts as a system equalizer and volume amplifier. Once installed, Boom 3D creates a virtual audio card that processes all output sound from the Mac, allowing you to overcome the physical limits perceived through 3D spatialization algorithms. In addition to increasing the volume, this app offers specific presets for different types of headphones, drastically improving the frequency response of economic models. In 2026, the integration with Apple Silicon chips allows Boom 3D to operate with a minimal impact on the battery, making it an ideal companion for those who often travel with their MacBook.
- Download and install Boom 3D from official website or Mac App Store.
- Follow the guided calibration to adapt sound to your ears and device.
- Activate the Volume Booster function to exceed the nominal limit of macOS.
- Experiment with the 31 band equalizer to finish each sound detail.
- Use specific volume controls for individual apps for perfect mixing.
Alternatively, for those looking for something lighter and perhaps focused on musical quality, there are players like Vox or software like Rogue Amoeba SoundSource. SoundSource, in particular, is extremely appreciated by professionals because it allows to apply Audio Unit effects (such as compressors or professional limiters) to any Mac application. If for example a Zoom call is too low, you can insert a compressor that raises weaker voices in real time. This level of control transforms your Mac into a real audio workstation, ensuring that you can always feel and make yourself feel as clearly as possible, regardless of the original limitations of the hardware or software in use.
Frequently Asked Questions on PC Volume Increase
Why is the volume of my PC so low despite being 100%?
This problem can depend on several factors, including energy saving settings that limit the power of the sound card, outdated drivers or recorded source files to a too low level. Often, the cause is the auditorium protection function activated in some software or Windows/Mac settings, which prevents the signal from overcoming a certain decibel threshold to avoid transducer or user damage. Verifying the presence of audio improvements such as volume equalization in device properties can solve the problem in most cases without installing additional software.
Increase the volume beyond the limit can break the cases?
Yes, there is a real risk. Integrated speakers on computers, especially in laptops, are designed to operate within certain limits of membrane excursion. Strengthening the volume digitally over 100% can cause overheating of the coil or physical breakdown of components if the signal is distorted (clipping). It is advisable to use these methods with patience, stopping as soon as you experience a degradation of sound quality or a scratching sound, unequivocal signals that the hardware is working out of its security zone.
How can I raise the microphone audio on Windows 11?
To increase the microphone volume in Windows 11 in 2026, you must go to Settings > System > Audio. In the Input section, select the desired microphone and act on the Volume cursor. If not enough, click on Device Properties and search for the Microphone Boost option, which allows you to add an extra gain of +10dB, +20dB or +30dB. Be careful, however, since excessively increasing the gain of the microphone will inevitably introduce more background noise and sibili in your voice, worsening the overall quality of communication.
Are there safe browser extensions to increase the volume?
Yes, there are very popular extensions such as Volume Master for Chrome and Edge that allow you to amplify the sound of your browser tabs. They are generally safe if downloaded from the official stores, but they only work for the content played within the browser (YouTube, Netflix, Spotify Web). They do not affect system apps like VLC or video games. A limit of these extensions is that they can cause slight distortion if set above 200-300%, so it is always better to use them as the ultimate resource for particularly silent videos.
How do you reset audio to a Mac if you no longer hear anything?
If Mac audio stops working or is stuck at a very low volume, the first step is resetting the coreaudiod process via Terminal. If this does not solve, in older models it proceeded to reset NVRAM/PRAM, while in modern Macs with Apple Silicon chips it is often enough to reboot. Also check that there are no AirPlay devices or Bluetooth headphones connected accidentally in the Control Center menu. Finally, make sure the jack port is dust free, as Macs can turn off internal speakers if they incorrectly detect something inserted in the connector.
Optimizing the audio of your computer is a process that requires a mix of technical knowledge and common sense. We saw how to navigate between Windows 11 and macOS settings, how to use the keyboard for quick adjustments and what third-party software can help us overcome hardware limitations when needed in 2026. Always remember that quality is as important as power: a very high but distorted volume does not offer a good experience of use. Experience with the tips provided, update your drivers and look for the perfect setup for your needs, always protecting your hardware and hearing. If this guide has been useful to you, share it with those who have the same problem and immediately start enjoying a crystalline and powerful sound. Learn how to transform your PC into a top multimedia system!


