In the vast and dynamic social media ecosystem, the ability to communicate visually has become fundamental to maintain the engagement of its audience. If you're wondering how to put multiple photos in the same Instagram story, know that today, in April 2026, the platform offers incredibly sophisticated tools compared to the past. Stories have become the narrative format par excellence, allowing creators, brands and common users to share fragments of their everyday life instantly and creatively. However, the simple publication of a single image can be limited, especially when you want to tell a complex event, show the details of a product or create an aesthetic collage that captures attention. In this complete guide, we will explore all the official methodologies and tricks less known to master the technique of multiple composition, ensuring your content a professional and modern look. Whether you’re an affectionate Android user, a loyal iOS system or a professional who prefers to manage their digital desktop presence, you’ll find solutions tailored to transform your stories into real visual narrative masterpieces, optimizing each pixel at your disposal to maximize the impact on your followers.
The Instagram Layout tool: the native solution
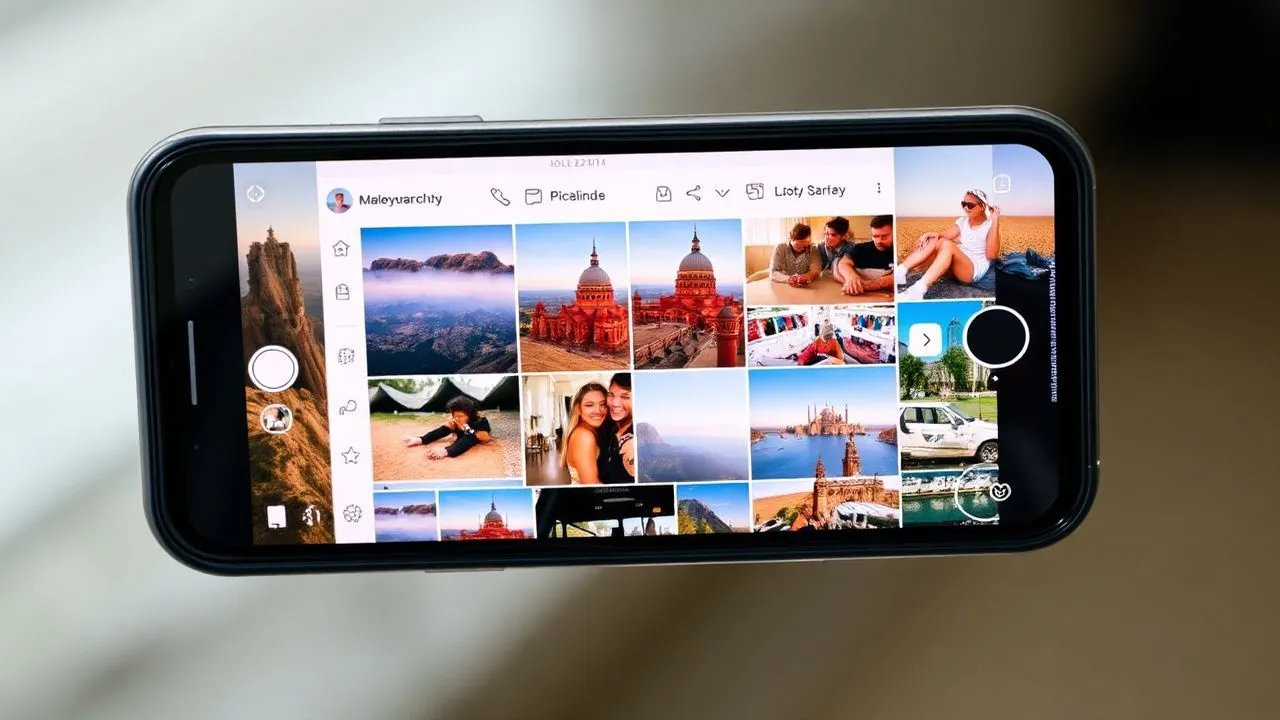
The Layout tool is the fastest and most intuitive way for those who want to understand how to put multiple photos in the same Instagram story without having to use external applications. Integrated directly into the story creation interface, Layout allows you to split the screen into different predefined grids, ranging from simple binary divisions to complex mosaics consisting of six or more panes. In 2026, the Instagram algorithm favours content that actively uses native functions, as they guarantee superior loading fluidity and perfect compatibility with the various display formats of mobile devices. Using Layout is not only a collage, but it means adopting an orderly and geometric visual language that facilitates user reading of content, avoiding the visual chaos typical of disorganized compositions.
Grid selection and image acquisition
To start the creative process, open the Instagram app and access the story section by swipe right from the main screen. On the left side of the interface, you will find a grid-shaped icon: that is the Layout button. Once activated, you will have the option to choose from different composition patterns. You can decide to take the photos in real time by filling each dial of the grid one after the other, or you can tap from your multimedia gallery by pressing the “+” icon on the bottom left. This flexibility is essential for those who love to plan their content in advance, allowing you to combine spontaneous shots with professionally modified images. Remember that each pane can be individually adjusted: you can pinch the screen to zoom on a detail or drag the image to center the desired subject, ensuring an impeccable aesthetic consistency to all final composition.
A often underestimated aspect concerns symmetry and balancing of colors within the chosen grid. When you decide how to put multiple photos in the same Instagram story through Layout, consider the overall color harmony: alternating very detailed photos with more minimalist shots can help not overload the eye of the observer. In addition, with the latest updates of 2026, Instagram has introduced smart edges that can be colored or made transparent to better adapt to the background of history. Once you complete the insertion of all the photos, just press the confirmation button to switch to the final editing stage, where you can add uniform filters across the collage, ensuring that the different images look part of a single coherent and professional visual project.
Use the sticker Gallery for free compositions
If Layout's grid stiffness does not satisfy your artistic vein, the Gallery sticker is the tool for you. This function has revolutionized the way we think about the technique on how to put multiple photos in the same Instagram story, offering total positioning freedom. Unlike the Layout, the sticker allows you to overlay images, rotate them of any degree, change their size at will and even cut them into predefined shapes like circles, hearts or stars simply touching us on. This “freestyle” mode is particularly appreciated by social media managers and digital artists who want to create layered layouts (layering), typical of the most sought after fashion magazines or travel journals, where images seem to float freely on a custom background or on a moving video.
Dynamic positioning and creative layering
To proceed, start creating a base for your story: it can be a full-screen photo, a video or a simple uniform color obtained through the brush tool. Next, open the menu of the stickers (the smiley face icon on the top) and look for the icon depicting the last image of your gallery with a “+” symbol on it. By selecting this sticker, you can import a second image above the base. Repeating the operation, you can add a theoretically unlimited number of photos. The true power of this method lies in the management of the levels: the last photo inserted will be placed above the previous ones, but you can play with transparencies or add texts and GIF between an image and the other to create a sense of three-dimensional depth that captures attention and invites the user to dwell on history.
In addition to mere positioning, it is important to consider the narrative context. Using the Gallery sticker is the ideal answer for those looking how to put multiple photos in the same Instagram story to create “first and after” or to show different perspectives of the same object without the constraints of black or white edges of a fixed grid. In 2026, the precision of the touch and the magnetic alignment assistants integrated in the app make it much easier to center the elements or space them equally. An advanced trick is to use photos with transparent background (PNG format) uploaded through this sticker: this allows you to create complex collages where subjects seem to interact with each other, dramatically raising the perceived quality of your profile in the eyes of followers and potential business partners.
Upload more photos from PC with Meta Business Suite
For digital marketing professionals and business accounts, mobile management can sometimes be limited. Know how to put multiple photos in the same Instagram story via PC is a competitive advantage not indifferent. The official tool par excellence is Meta Business Suite, the centralized platform that allows you to program and publish content on Instagram and Facebook in a synchronized way. Although the desktop interface is focused on production efficiency, it offers robust options for those who want to load ready-made compositions, perhaps created with professional graphics software such as Adobe Photoshop or Illustrator, ensuring a resolution and chromatic fidelity that often gets lost in the steps between mobile devices.
Professional Management and Benefits for creator
To use this method, you must have a corporate Instagram account or creator connected to a Facebook page. Once you log in to Meta Business Suite from your computer’s browser, navigate the “Post and Stories” section and click on “Create History”. Here you can upload media files directly from your hard drive. The main advantage lies in the ability to load a collage previously assembled on the PC, where you had total control over each single pixel. In addition, the platform allows you to view an accurate preview of how history will appear on both smartphones and tablets, allowing you to correct any formatting errors before the content becomes public and visible to thousands of people.
Another fundamental benefit of working from PC is time management. Through Meta Business Suite, not only do you understand how to put multiple photos in the same Instagram story, but you can also schedule publication for days or hours later when your audience is more active. This strategic approach is essential to maintain a constant presence without having to be physically present on the app every hour. In addition, the suite offers integrated analysis tools that show you which types of collages or multiple compositions have generated the largest number of interactions, allowing you to refine your content strategy based on real data and not only on aesthetic intuition, thus improving the return on investment (ROI) of your social campaigns.
- Login to Meta Business Suite and select your business account.
- Upload the collage file created previously on your computer.
- Add swipe-up links (if available for your account) or interactive stickers.
- Plan optimal publishing time to maximize coverage.
- Check the preview on different screen formats to avoid unwanted crops.
Create collage with external apps and online tools
Although native functions are constantly improving, many users prefer to rely on third-party applications to discover how to put multiple photos in the same Instagram story with a unique and unconventional style. Historical apps and new emerging services in 2026 offer templates that go far beyond simple grids, including textures, vintage edges, burnt film effects and animated typography that are not yet available in the standard Instagram editor. Using external tools allows you to differentiate yourself from the mass, creating an aesthetic of recognizable brand and difficult to imitate, which is fundamental in a saturated market of visual content where originality is the main exchange currency to obtain organic visibility.
PhotoJet and alternatives for desktop and mobile
Among the most versatile online solutions we find FotoJet, a web-based tool that does not require installation and offers hundreds of specific models for the size of Instagram stories (9:16). Using FotoJet is extremely simple: just choose a template, upload your photos and drag them into the preset boxes. You can change the background, add vector graphic elements and customize each color detail. Once satisfied with the result, the file can be downloaded in high quality and transferred to the phone for publication, or uploaded directly via Meta Business Suite as discussed in the previous chapter. Other popular alternatives include Canva, which in 2026 integrated artificial intelligence functions to suggest the best layout according to the content of your photos.
When choosing an external application to learn how to put multiple photos in the same Instagram story, it is essential to pay attention to export quality. Many free apps overly compress images, resulting in distracted or undefined stories when uploaded to Meta servers. Always try to export in high resolution PNG or JPG format. In addition, many of these apps offer the possibility to create “storie slide” (multiple panels that look like a single continuous image), a trend that continues to dominate in 2026 for its ability to increase user time on history. Experimenting with different tools will allow you to find the most suitable workflow for your needs, balancing running speed and final design quality.
- Choose a reliable online application or service (Canva, FotoJet, Unfold).
- Select the "Instagram Story" format to ensure the correct proportions.
- Import your photos and place them according to templates or in a free way.
- Customize with unique texts, filters and graphic decorations.
- Export the final project to your device and load.
Put photos and videos together in the same story
The multimedia evolution of social media has led users to want increasingly hybrid formats. Understanding how to put multiple photos in the same Instagram story together with video fragments is today one of the most required skills. This combination allows you to create a very strong emotional impact: imagine showing a series of static photos of a landscape while in the center of history flows a video of the wind that moves the leaves or water of a stream. This contrast between static and motion instantly captures the look, drastically increasing the chances that the user does not pass beyond (swipe) but stops observing the details of your creation, thus improving the metrics of completion of your stories.
Multimedia synchronization and visual impact
To achieve this mixed composition, the most effective method is once again the Gallery sticker. Start recording or uploading a video as the basis of your story. Then open the sticker menu and select the photos you want to overlay. Instagram now allows you to manage audio streams smartly, allowing you to decide whether to keep the original video audio or overlay a musical track from the platform library. In 2026, the hardware processing of modern smartphones allows you to manage multiple video streams simultaneously even within the same sticker, opening the way to video-on-video collage that until a few years ago required professional video editing software and rendering hours on powerful PCs.
A crucial element when deciding how to put multiple photos in the same Instagram story together with the videos is the weight of the final file. Stories with many heavy multimedia elements could suffer slowdowns during loading or appearing to be “spoken” on less recent devices. To overcome this problem, make sure you have a stable connection (5G or Wi-Fi 6) at the time of publication. Also, try not to exceed with the duration of the basic video: 15-30 seconds are usually the ideal limit to keep the attention high without tediating the public. The creative use of masks and edges can help to better integrate static photos over the video, making the transition between different fluid and pleasant media, almost as if they were part of a single film produced in the studio.
The secret to a success story is not only the amount of content you can insert, but the harmony with which these elements dialogue with each other to tell a single, coherent emotion.
Advanced tricks for multi-photo Instagram stories
Once you master the bases on how to put multiple photos in the same Instagram story, it is time to switch to advanced techniques that distinguish an average user from a real social media professional. In 2026, the “low-effort” aesthetic is leaving room for a new wave of fine but authentic design. A very effective trick is to use the “Copy and Paste” function of the operating system (both on iOS and Android). You can go to your photo gallery, copy an image with the system command and then go back to the Instagram app: a small pop-up will automatically appear that will ask you if you want to “glue” the image as a sticker. This method is incredibly fast and allows you to skip several steps in the app’s internal menus, making the workflow much leaner.
Uniform filters, design and branding
Visual uniformity is the key to a successful profile. When you upload multiple photos into a story, make sure they all have a similar color treatment. If you don't have time to change them individually, you can apply a global Instagram filter after creating the collage, but remember that this will affect all the elements at once. A better technique is to use external apps to apply the same “preset” to all images before importing them. In addition, consider the importance of negative space (the empty spaces among the photos): do not be afraid to leave uncovered areas of your history; this helps to give “respy” to the composition and makes the texts much more readable, avoiding that effect of crowding that often diverts attention from the main message.
Finally, do not forget the importance of personal branding. If you're learning how to put multiple photos in the same Instagram story for business purposes, insert small recurring elements like a specific font, a constant color palette or a small logo in a corner. In 2026, immediate recognisability is fundamental. You can also create custom stickers starting from your photos (thanks to the automatic cutting functions of the subjects integrated in modern smartphones) and save them to reuse them in different compositions. This not only speeds up the creative process, but creates a strong visual link with your followers, who will learn to recognize your stories even before reading the account name on the top left.
- Use the Copy and Paste function of your phone to insert photos in seconds.
- Keep a colour palette consistent with all collage images.
- Use negative space to improve legibility and aesthetics.
- Create custom stickers from your shots for a unique touch of branding.
- Test different provisions to understand which attract more interactions (tap and responses).
Frequently asked questions
How many photos can I put in a single story?
Officially, using the Layout tool, you can insert up to 6 photos in a default grid. However, using the Gallery sticker or copy-paste function, there is no strict technical limit imposed by Instagram in 2026. It is possible to add dozens, but it is advisable not to exceed 5-7 images to prevent history becoming too heavy to load or visually confused for those looking at it on the small screen of a smartphone.
Why don't I find the Gallery sticker in my sticker menu?
If you do not see the gallery icon in the sticker menu, make sure that your Instagram application is updated to the latest version available on the Play Store or the App Store. In some cases, it may be a gradual roll-out of functions or a temporary cache bug. Try restarting the app or checking if the function is available using the alternative method of “copy and paste” directly from your smartphone’s gallery.
Can I put more photos in a story acting by computer without Meta Business Suite?
Although Meta Business Suite is the official and most complete solution, there are third-party online tools and web versions of apps like Canva that allow you to create collage on PC. However, for direct publishing, Instagram usually requires the use of official Meta tools or the transfer of the final file on a mobile device. There are browser extensions that simulate the mobile interface, but can be unstable and less secure than official channels.
Do photos uploaded by sticker lose quality?
Whenever you upload a content to Instagram, the platform applies a compression to optimize loading times. Uploading many photos through sticker, the overall file of history becomes more complex. To minimize the loss of quality, make sure the original photos are well lit and sharp. Avoid overly magnifying small or low-resolution images, as this would make the pixels very noticeable once the story is published.
Is it possible to animate the individual photos within a collage?
Natively, Instagram allows you to apply animations to the text and some stickers, but does not yet offer granular control over the animations of the individual photos uploaded via sticker Gallery. To achieve this, you should create a video collage using external mounting apps (such as CapCut or InShot) and then upload the resulting video file as a single story. This will ensure smooth transitions and custom movements for every single image of your mosaic.
In conclusion, master the technique on how to put multiple photos in the same Instagram story is a fundamental step for anyone wishing to elevate their digital communication in 2026. Whether you choose the geometric precision of Layout, the expressive freedom of stickers or the analytical power of Meta Business Suite from PC, the important thing is to keep the quality of the story and the visual harmony at the centre. Experience with the different options, observe the feedback of your audience and not be afraid to dare with original compositions. Now that you have all the information you need, you just have to open the app and start creating extraordinary content that will leave the mark in the feed of your followers. Good experimentation and fun with your new multi-photo stories!


