When an electrodomestic unexpectedly stops working, the first reaction is often frustration. if the warranty is now a distant memory and is familiar with electronics, the idea of trying a diy repair can turn into an interesting and rewarding challenge. this path, however, requires attention, precision and a good dose of caution, since it will work with delicate components and, sometimes, with instruments that reach high temperatures or directly with the electric current.
It is essential to underline immediately that the repair of an electronic card is not a trivial operation and does not always guarantee success. in some circumstances, especially in the presence of extensive damage or significant burns on the board, the complete replacement of the component or the whole appliance could prove to be the most sensible and convenient option. if, despite these warnings, you are ready to test your skills, here is a detailed guide to face repair.
Attention and safety before starting #
Before diving into practice, it is essential to devote a moment to safety. the described operations involve the manipulation of electrical circuits and the use of tools that can reach temperatures above 300 degrees celsius. for this reason, it is highly recommended to proceed only if you have full awareness of the actions that are taking place or if you are flanked by an expert and competent person. improper execution of these steps may result in risks of personal injury or damage to the appliance and the surrounding environment. the responsibility for any inconveniences resulting from incorrect application of the instructions falls entirely on the operator.
Preparation: disassembly and removal of the card #
The first crucial step to start any intervention on an electronic card is to ensure that the device is completely disconnected from the power supply. this elementary precaution is vital to prevent electrical shocks. once the plug is unplugged, the device can be dismantled.
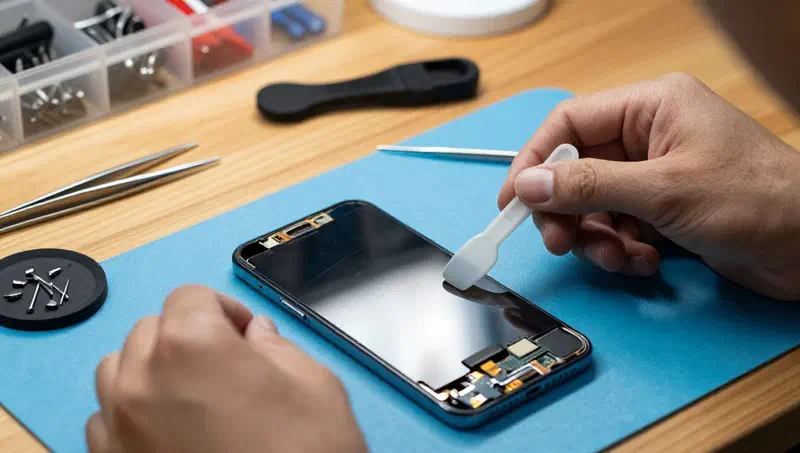
During the disassembly phase of the cover or external shell, it is highly advisable to document each passage with photographs taken by different angles. the use of a smartphone or tablet to capture the sequence of screws, frames and connections will prove valuable at the time of reassembly, avoiding errors and facilitating the process. once the external envelope is removed, you will have to locate the electronic card on which to intervene. the boards can be fixed in various ways: some are simply recessed, requiring the pressure of a pin or the application of a slight force to be lifted, others are blocked by screws that will be removed with a proper screwdriver.
In-depth visual inspection #
With the electronic card between the hands, the next step is a meticulous visual inspection. often, already to the naked eye, it is possible to identify significant abnormalities that indicate the cause of malfunction. look carefully:
- ** bruciate plants:*** printed circuit signs appearing blackened or damaged. if a burn completely breaks the communication between the components, the repair could be complex or even impractical, making it more convenient to replace the entire board.
- **sick or damaged componants:***inflated or burst capacitors, blackened resistors, chips with burn marks or pins detached from the base. even a visibly out of place or corrupt component can be the root of the problem.
- ** cold or written salds:*** especially in pth type cards (pin through hole), where components cross the board and are welded on the lower side, it is essential to carefully examine welds. a soldering that appears opaque, granulous or with small cracks can indicate a faulty connection.
Remember to inspect both sides of the board: the upper one, where most components are mounted, and the lower one, where welds and circuit tracks are located.
Fault diagnosis with specific tools #
If visual inspection did not reveal any obvious anomaly, it is likely that the problem lies in an electronic component that simply stopped working internally. to proceed with a more thorough diagnosis, there are several approaches and tools:
Search for the electrical schematic #
A valid help at this stage is the consultation of the electrical scheme of the device. this technical document illustrates the path of the current within the board and the layout of the components, facilitating the understanding of the overall operation. you can try to find the schematic online, doing a search on a search engine with terms like “[mark and device model] datasheet” or “[mark and device model] electric scheme”.
Identification of critical components #
Although any component may fail, some elements are more subject to yields. the input fuses, for example, are designed to burn and interrupt the circuit in case of overcurrent. even capacitors, especially electrolytic ones of great capacity, are often sources of problems, manifesting swellings or losses. however, these are only general indications; a precise diagnosis requires the use of adequate instrumentation.
Use of multimeter (tester) #
The multimeter, or tester, is the indispensable tool for the diagnosis of electronic circuits. it allows to measure various electrical parameters, such as voltage (volt), current (ampere), resistance (ohm) and, in some models, also the capacitor (farad) capacity. its use is relatively simple but requires precision:
- switching:* select the correct mode on the multimeter based on the measurement type (e.g., resistance ω, v for voltage, a for current or diode symbol for continuity).
- position of the toes: place the two heads of the tester on the two heads of the component to check.
- reading and interpreting:* read the displayed value on the display. if the measured value is close to the nominal value (often printed on the component itself or indicated in the schematic), the component is probably working. a significant deviation or lack of reading indicates a failure.
It is important to note that checking each single component on complex cards can be a long and laborious process. the familiarity with the most critical components and the ability to interpret the schematic can accelerate diagnosis.
Replacement of damaged component #
Once you have identified the fault component thanks to the multimeter, you can proceed with its replacement. this step requires the use of a welder and other accessories:
Drying and cleaning #
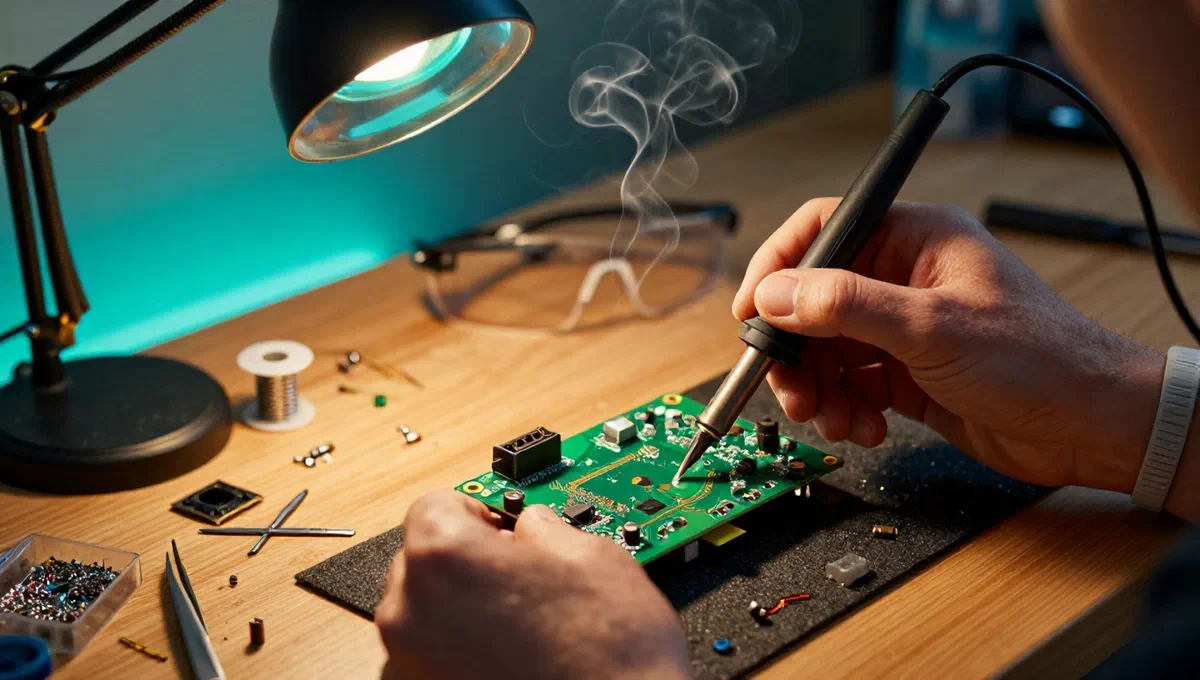
The first step is to break down the faulty component. to do so, you use a welder to heat the weld and a vacuum cleaner (or disabling pump) to remove the molten pond. it is essential to work gently to avoid damaging the slopes of the printed circuit board. after removing the component, it is good practice to clean the area from any welding or fluxing residues.
Purchase of replacement component #
It is essential to obtain a new component that has the same characteristics as the fault. for resistance, for example, you will need to buy one with the same value in ohm. specifications (value, tolerance, power) are usually printed on the body of the component itself or available through the schematic and datasheet. components such as capacitors, diodes, transistors and integrated circuits require an exact match of type and value.
Welding of the new component #
With the new component available, welding proceeds. using a tin welder and tin/pit wire, fixes the new element to the board. it is important that the welding is bright, smooth and provides good electrical contact, without bridges with adjacent slopes. welding techniques vary slightly depending on whether they are working on pth cards (pin through hole), where the legs cross the board, or smd (surface mounting device), where the components are welded directly on the surface.
Final considerations and when to turn to a professional #
The repair done by you of an electronic card, as you could guess, is not an undertaking to be underestimated. it requires patience, specific tools and a good understanding of the basic principles of electronics. however, with the right dedication, it can turn into an extremely rewarding experience that allows to extend the useful life of household appliances and save money.
If, despite all efforts, insurmountable difficulties are encountered, or if the extent of the damage exceeds its competence, it is always wise to contact a specialized technician. there are numerous electronic shops and repair centers that offer services of this type. an online search for “electronic card repair” followed by the name of your locality can help you locate a professional nearby.