If you're wondering how to change iPhone photo format, you are in the right place to explore every technical and practical aspect related to image management on your Apple device in 2026. With the evolution of photo sensors and the introduction of increasingly complex standards, understanding how to manage the file extension has become fundamental not only to save space on internal memory or on iCloud, but also to ensure maximum compatibility when you share your shots with Windows users or on social platforms that do not fully support new generation formats. Many users, after purchasing a new iPhone model, realize that photos are automatically saved with the HEIC extension (High Efficiency Image Container). Although this format offers excellent compression without loss of quality, it can be ostic in professional contexts or fast editing on old computers. In this guide we will explore different methods: from the native camera settings to the smart use of the Quick Command app, passing through the hidden tricks within the iOS File app. You will learn not only to change the output format, but also to manage the resolution in megapixel and to leverage the Apple ProRAW format to get the most out of your creative shots, always keeping total control on your digital workflow.
Configure camera settings for JPG format
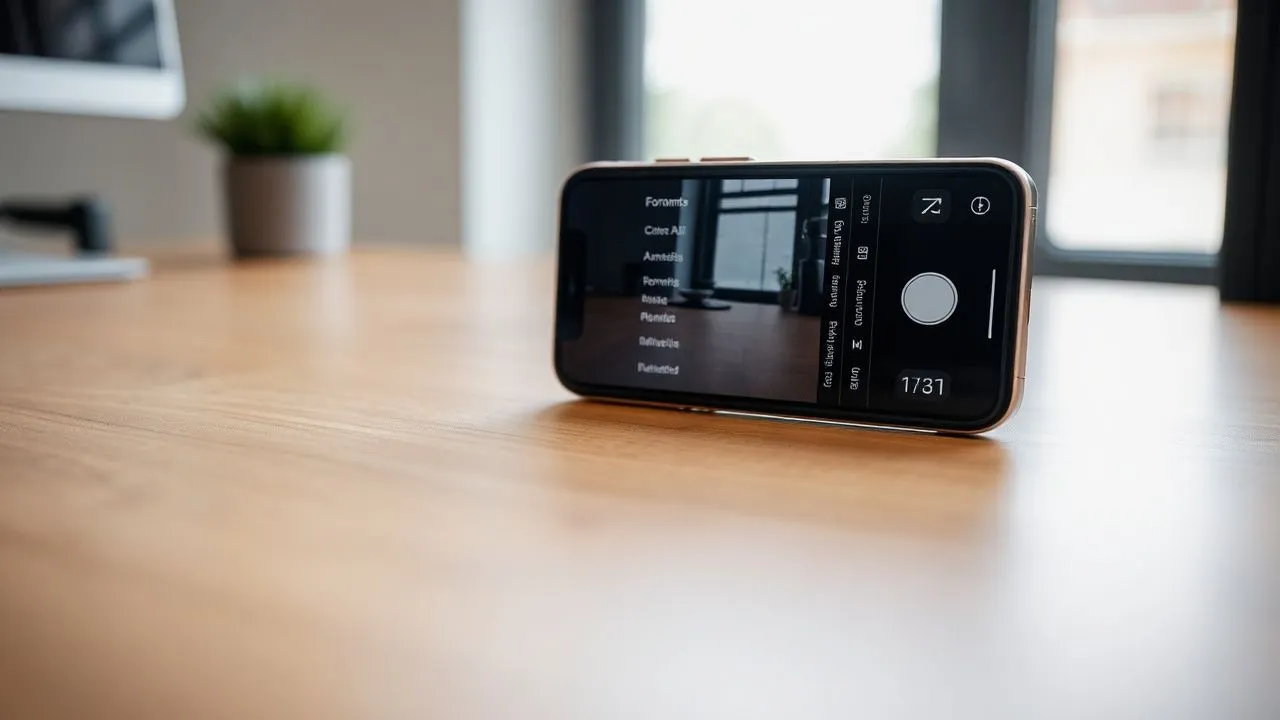
Switch from High Efficiency to More Compatible
The first fundamental step to understand how to change iPhone photo format is to act directly at the source, or on the settings of the Camera application. By default, modern iPhones use the HEIF/HEVC format, known in the settings as “High Efficiency”. This standard was introduced by Apple to halve the weight of the files compared to the classic JPEG, but maintaining a color depth and a higher dynamic range. However, if your priority is immediate universal compatibility, you can educate your iPhone to directly click in JPEG. To do so, you must go to the Settings menu, scroll to find the Camera entry and then tap the Formats option. Here you will find two main choices: High Efficiency and More Compatible.
By selecting “More Compatible”, the system will automatically use JPEG format for photos and H.264 format for videos. This choice is ideal if you work often with computer dated or if you upload images on websites that do not accept .heic files. It is important to note that, by choosing this option, you may renounce some advanced video capture features, such as the 4K to 60 fps or the Cinematic Mode at high resolutions, as these necessarily require the HEVC codec to be handled correctly by the iPhone hardware. Therefore, consider carefully whether instant compatibility is more important to you than the maximum technological efficiency offered by Apple software, remembering that you can go back at any time with a simple touch on system settings.
Set the default click resolution
In addition to the file type, resolution management is a key element for those who want to customize the photo experience on iPhone. In the most recent models, such as those in the 15, 16 series and the new models of 2026, Apple allows you to choose from different resolutions for shots made with the main camera. Navigating always in Settings, then Camera and finally Formats, you will find the section dedicated to Photo Mode. Here you can decide whether to save your images to 12 MP or 24 MP. The 24 MP resolution has become the golden standard since it offers a perfect balance between incredible detail and contained file size, using computational photography algorithms that merge multiple exposures into a single sharp snap.
Choosing 12 MPs can be useful if you have very little space available or if your photos are intended exclusively for quick viewing on small screens or social networks where compression is still aggressive. If you have a Pro model and want to use all the power of the sensor, you can enable the resolution control to reach up to 48 MP. Remember that shooting at 48 MP will dramatically increase the weight of each individual photo, making it necessary for an oculated storage management. Here are some key points to consider when changing these resolution options:
- The 24 MPs offer superior detail for medium-sized prints compared to 12 MPs.
- The 12 MP resolution guarantees faster shots and lower battery consumption during intense sessions.
- 48 MP photos capture a perfect amount of light and details for post-production (cropping).
- The selected option directly affects the upload speed on iCloud Photos.
Convert photos from HEIC to JPG with Quick Command app
Use custom scripts for massive conversions
If you have already taken hundreds of photos in HEIC format and need to convert them quickly to JPG without switching to a computer, the Quick Commands app (Shortcuts) is the most powerful tool at your disposal. This application, preinstalled on iOS, allows you to create real automations that process files in seconds. Many advanced users use scripts such as “Photos ToolKit” to manage the workflow. To begin with, you need to open the Quick Command app and search or create a command that includes the “Convert Image” action. This approach is extremely flexible because it allows you to define not only the target format (JPEG, PNG, or even PDF), but also the quality level and whether or not to maintain the original metadata like the GPS location or the shutter date.
Once you configure the command, just start it, select the photos from your gallery and let the iPhone do the rest. The main advantage lies in the ability to process dozens of images simultaneously, saving a precious time that you would otherwise spend sending you files via email or using online converters often full of advertising and little respectful of privacy. The Quick Commands app works locally on your processor, ensuring that your sensitive data never leaves your device during the conversion process, a fundamental aspect for cybersecurity in 2026. If you don’t find the app on your phone, you can download it free of charge from the App Store at any time.
Download and install Photos ToolKit
For those who prefer ready-to-use solutions, the Quick Command called Photos ToolKit is one of the most popular resources of the Apple community. To get it, you need to visit reliable repositories like RoutineHub through the Safari browser on your iPhone. Once you find the shortcut page, press the download button and follow the screen instructions to add it to your personal library. You may need to authorize the installation of commands from external sources in system settings, a security measure that Apple adopts to protect users. Once added, Photos ToolKit will appear as a colored pane in the main screen of the Quick Command app, ready to be used with a simple touch.
Use is intuitive: After pressing the command, select “Convert Images” from the pop-up menu. The interface will allow you to browse the photo roller and mark all the pictures you want to transform. After confirming the selection, you can choose the desired output format. A very useful feature of this tool is the ability to resize the image during conversion, ideal if you need to send photos through web modules that have stringent weight limits. At the end of the operation, the command will ask you where to save the new files: you can decide to overwrite the originals (not recommended choice) or, better yet, save the new JPG versions in a dedicated album or directly in the File app.
The make-up of the Instant Conversions File app
Copy and paste between Photos and Files
There is an almost magical method for how to change iPhone photo format that does not require the installation of any additional app and that uses an integrated function in the iOS operating system: the file management system. Many users do not know that the File app acts as a real desktop environment where files are treated differently than the multimedia library. If you take a HEIC photo from the Photo app and copy it, then paste it into a folder within the File app, the system will often perform a silent automatic conversion to ensure that the file is readable in the standard filesystem. This trick is perfect for flight conversions of individual shots or small groups of images.
To proceed, open the Photos app, select the images involved and tap the sharing icon (the square with the arrow upwards). Choose the item “Photo copy”. At this point, close the Photo app and open the File app. Navigate to a folder of your choice, such as “On my iPhone” or a specially created folder. Press and hold in a blank spot on the screen and select “Back”. You will notice that the images will appear instantly. If you check the info of these files, you will see that many of them have been turned into JPEG. This happens because the File app favours file system compatibility with Apple’s optimized media containers, making the transfer to USB flash drives or external cloud services much smoother and smoother.
File management in iOS 19 and later
With the latest iOS versions available in 2026, the File app has become even more sophisticated, integrating quick actions directly into the context menu. Now, if you hold a saved image in the File app, a submenu will appear called “Quick Actions”. Here you will find the integrated “Mediture Converts” option natively. This feature allows you to choose from various formats (JPEG, PNG, HEIF) and even select the file size (Little, Media, Big or Real Size). It is a real revolution that makes obsolete many third-party applications that were once necessary for such trivial but essential tasks.
Using the quick actions of the File app is the most professional way to manage your photo archive without dirtying the main roller with duplicates in various formats. This is how to optimize this process:
- Create thematic folders within the File app to separate work projects from personal photos.
- Use the mass rename function to organize your new JPG files after conversion.
- Use the integration with iCloud Drive to have the converted files immediately available on your Mac or PC.
- Use built-in ZIP compression if you need to send many converted photos into a single package.
Use Apple ProRAW for total control
What is ProRAW format and when to use it
For photography enthusiasts and professionals using iPhone as a work tool, Apple introduced the ProRAW format. This is not a simple file format, but a hybrid that combines raw sensor information (RAW) with Apple computational image processing. Understanding how to change iPhone photo format in ProRAW means entering a world where you have total control over white balance, exposure and dynamic range during post-production. When you click in ProRAW, the file is saved with .DNG extension (Digital Negative), an open standard format supported by almost all professional editing applications such as Adobe Lightroom or Capture One.
However, always shooting in ProRAW is not recommended for the average user. A single ProRAW 48 MP file can weigh from 75 to 100 MB, which means that you could run out of space on your iPhone in no time. The ideal is to activate this function only when you are in front of scenes with difficult lights, complex sunsets or when you know you want to change the shot heavily afterwards. To enable it, go to Settings > Camera > Formats and activate the “Apple ProRAW” switch. Once activated, you will see a “RAW” icon in the upper right corner of the Camera app: you can touch it to turn on or off the function according to the need of the moment, thus maintaining the flexibility between quick shots and author photography.
Editing and conversion of ProRAW files
Once a photo is taken in ProRAW, the next challenge is its management. Although the iOS Photo app can view and edit .DNG files, it is often necessary to export or convert them to professional results. If you want to share a ProRAW photo on Instagram, the Photo app will perform an automatic conversion to JPG while loading, but you will lose part of the creative control. The best way is to edit the photo directly on the phone using the built-in editor or apps like Darkroom, and then export the final result in a compressed format like the JPEG at the highest quality.
It is important to remember that the ProRAW file keeps all the original data, so every change made is not destructive. You can always return to the original image if the editing result doesn’t suit you. For those who work on Windows, it is essential to install RAW image extensions or use updated software in 2026 to be able to correctly view these files without system errors. The management of ProRAW represents the highest step in the scale of understanding of photo formats on iPhone, transforming a simple smartphone into a real professional camera capable of competing with dedicated hardware in many situations of daily light.
Resolution and size: manage megapixels
Switch from 12 MP to 48 MP according to your needs
The question of megapixels is often a source of confusion for many users. The more megapixels do not necessarily mean a “more beautiful” photo, but they definitely mean a photo with more spatial information. On the iPhone 15 Pro and later models up to 2026, the 48 MP main camera uses a technique called “pixel binning”, which groups four pixels into one to improve the performance in low light conditions. By default, the system produces 24 MP shots, which are a great middle way. However, if you are in a very bright environment and want to capture every detail of a landscape, switching to 48 MPs is the winning choice.
To manage this setting, you have to enter the Camera Formats menu and decide which standard resolution should be. Many photographers prefer to keep active manual control: this allows you to see a small “HEIF Max” or “RAW Max” button in the camera interface. With a simple touch, you can switch from standard to maximum resolution. This hybrid approach is the secret to not saturate the memory of the device unnecessarily, reserving high resolution only for the moments that really count, as an important portrait or a panoramic view that deserves to be printed in large format on canvas or fine photographic paper.
Impact on memory and cloud backup
Changing the size and resolution of the photos has a direct and proportional impact on your iCloud plan and physical memory of your phone. A 12 MP HEIC photo weighs about 1.5 MB, a JPEG of the same resolution about 3 MB, while a 48 MP photo in HEIF format Max can reach 5-10 MB. If we consider the ProRAW files, the size explodes. It is therefore essential to plan an effective storage strategy. If you have a 50 GB iCloud plan, you could fill it in a few months by taking only high resolution. In 2026, Apple improved space optimization algorithms, but manual management remains the best defense against “Full Memory” alerts.
Consider using third-party services or external USB-C discs to periodically download the heaviest photos. Thanks to the universal USB-C port on all iPhone models, you can directly connect an external SSD and move files through the File app, freeing valuable space without having to switch to an intermediary computer. This freedom of movement of files radically changed the way we manage mobile photography, making the iPhone a device much more similar to a traditional computer in its daily operation. Below, a summary of the average file size based on the chosen format:
- HEIC (12 MP): ~1.5 MB – Ideal for everyday and social use.
- JPEG (12 MP): ~3.0 MB – Maximum universal compatibility.
- HEIF Max (48 MP): ~5-10 MB – High detail with efficient compression.
- ProRAW (48 MP): ~75-100 MB – Professional use and extreme post-production.
Frequently Asked Questions about how to change iPhone photo format
Can I convert a JPG photo to HEIC on iPhone?
Yes, you can reverse the operation using the Quick Command app. Although you usually try to switch from HEIC to JPG for compatibility, converting to HEIC can be useful to save space on an already saturated archive. Just create a command that takes an image into input and converts it by specifying “HEIF” as an output format. But remember that the conversion from one compressed format to another can result in a slight loss of quality, so it is always better to start from the original image taken by the camera if available.
Why does my Windows PC not see photos of the iPhone?
This problem is usually due to the HEIC format. Windows requires installation of a specific extension called “HeVC Video Extensions” and “HeIF Image Extensions” available on the Microsoft Store (often at a minimum or free cost). Alternatively, you can set your iPhone to automatically convert photos during cable transfer: go to Settings > Photos and, in the section “Transfer to Mac or PC”, select “Automatic”. In this way, the iPhone will convert files to JPG only during cable passage, keeping HEICs on the phone.
Is there a difference in quality between JPEG and HEIC?
At the same size of the file, the HEIC is technically superior because it supports a 10-bit color depth, against the 8-bit JPEG. This means that the color shades (like those of a sunset) are much more fluid and less subject to the “banding” effect. However, for the inexperienced human eye and for most web uses, the difference is almost imperceptible. The real difference lies in the ability of the HEIC to occupy about half the space, which makes it the absolute winner for long-term storage on the device.
Can I change photo format already taken without third-party apps?
Of course, as explained in the guide, the fastest method is to use the File app. By copying a photo from the reel and pasting it into the File app, or using the “Intelligence Converts” feature integrated into the Quick Actions of iOS 19/20, you can get a JPG file in seconds. This method is secure, free and requires no internet connection, totally preserving your privacy. It is the ideal solution for those who need a compatible file to upload it to a public administration site or to send it to an online print service.
What if I change format during a shot in Portrait mode?
Apple Portrait mode saves additional information about depth of field. If you convert a photo taken in Portrait mode into a format like standard JPEG through unofficial methods, you may lose the ability to adjust the blur intensity (f-stop) or portrait lighting at a later time. It is always advisable to make all artistic adjustments in the original Photo app and only then proceed to the conversion of the final file for sharing, so as not to sacrifice the dynamic data enclosed in the original Apple file.
In conclusion, learning how to change iPhone photo format is a fundamental competence for anyone who wants to make the most of their device in 2026. Whether you choose the path of permanent settings for everyday ease of use, or prefer the power of Quick Commands and ProRAW format for your creative projects, iOS offers all the tools needed for granular control. Always remember to balance the image quality with the available storage space and test the compatibility of your files with the devices you use most often. If this guide has been helpful, explore the other tutorials on our site to find out how to further optimize your iPhone and make your digital workflow increasingly efficient and professional.


