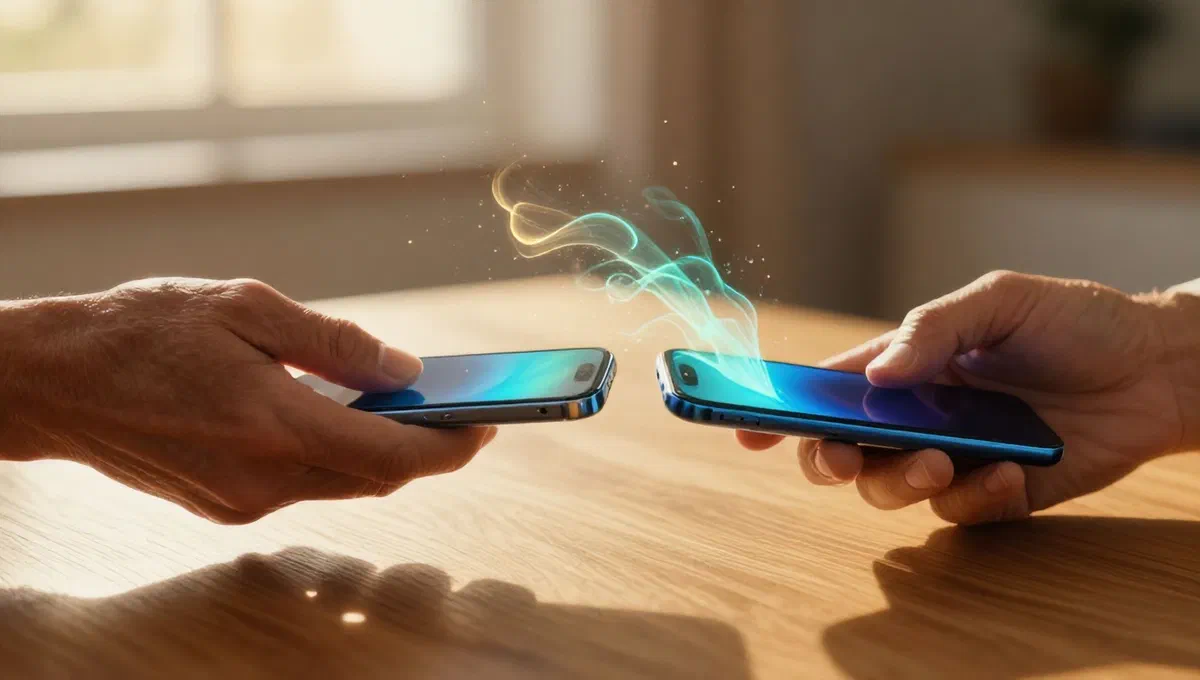
The desire to update your iphone with a newer model is common, as well as the need to transfer data between devices iTunes] for several reasons, from sharing photos and contacts with friends to complete migration of a system. fortunately, the ecosystem Apple offers different intuitive and reliable solutions to manage the flow of information between its melafonini, ensuring that your memories, apps and settings follow you smoothly.
This guide will deepen the most effective methods to move data from one iphone to another. whether you’re configuring a new device, restoring a backup or simply wanting to share a specific file, you’ll find the solution best suited to your needs. we will explore the direct transfer procedures via the “start now” feature, backup restores on icloud or via computer, and wireless sharing options such as airdrop and namedrop.
Data transfer from iphone to new iphone: the function “start immediately” #
Simplicity is a pillar of experience iTunes, and this is clearly reflected in the initial configuration procedure of a new iphone. if you have an iphone or other ios/ipados device with ios 12.4 or later*, you can use the start now* function to transfer data by physically approaching the two devices.
It is important to note that, for ios versions between 11 and 12.3, the “start now” feature allows you to only import account data iTunes. the actual files, in these cases, are then downloaded from icloud backups, and not transferred directly from the old to the new phone. make sure both of your devices are updated to the latest version of ios for a direct and complete transfer.
How it works “start immediately”: #
- preparation of the new iphone: turn on your new iphone or what you just reset to factory settings. during the initial configuration (after selecting language, country, reference form and appearance), the *start now screen will appear.
- preparation of the old iphone: take your old iphone. make sure it is connected to a wi-fi network*** and the bluetooth is active.
- ** approaching devices:*** physically approach the old iphone to the new. on the old device will appear the message configure the new iphone.
- start transfer:* press on ** unlock button to continue** on old iphone. unlock your device with your security method (e.g. face id or code).
- team the animation: a circular animation will be played on the new iphone. pane with the camera of the old iphone to start the matching process.
- configuration:* on the old iphone, tap configure for me. on the new iphone, enter the unlock code of your old device.
- ** activation and settings:*** wait for activation to complete, then configure the face id on the new iphone.
- choice of transfer method: at this point, you will have two options:
- transfer from iphone: to start direct wireless data transfer from the old to the new iphone.
- download from icloud:* to restore a previously saved backup on icloud.
- configuration: follow the remaining screen instructions to configure other functions such as iTunes pay, siri and, if present, your Apple watch.
Transfer data via icloud backup #
If you do not have the possibility to have the two iphones physically close, or prefer a method that does not require the immediate presence of both devices, backup via icloud* is the ideal solution. this method allows you to save all your iphone data on a server iTunes] and restore it to another device at any time, wherever you are, provided you have an internet connection.
1. Create a backup on icloud (iphone of origin): #
First, you need to ensure that all your old iphone data is saved on icloud.
- Take the iphone from which you want to transfer the data.
- Go to settings** > icloud.
- Scroll down and select backup icloud.
- Make sure the lever make the iphone* backup is set to on.
- Tap ** run backup now*** to create a new backup.
- Check that the iphone is ** connected to a wi-fi network** and, possibly, connected to an electrical socket to avoid interruptions.
2. Restore a backup from icloud (target iphone): #
Once you create backup, you can restore it to your new iphone.
- start the new iphone (if already configured): if the target iphone has already been activated and configured, you will have to return it to the factory state. go to settingsgeneral* transfer or initialize iphone*. select initialize content and settings, confirm and enter the unlock code and password of the id iTunes. this will erase all the data on the device. if the iphone is new and has never been configured, you can skip this step.
- start the start setup: after rebooting or switching on the new iphone, the ios initial configuration procedure will start.
- ** follow the initial steps:** set language, country, reference form and appearance.
- save from icloud:* when you reach the app and data screen, select the ** from an icloud* backup.
- ** login with your id iTunes:** enter the credentials of your id Apple] (the same used on old iphone for backup). two-factor verification may be required.
- select backup: a list of available backups will be displayed. select the most recent and relevant one from your old iphone.
- complete restore:* press continue* and wait for the recovery process to be completed. this operation may take time, depending on the size of the backup and speed of your internet connection.
- fine the configuration: after restoration, complete the remaining steps of your iphone configuration.
note important: both the original and target iphone should be equipped with the same version of ios, or the target device must have an ios version equal to or greater than that of the backup. if one of the devices is not up-to-date, upgrade via settings*general*******update software before the procedure begins.
Computer data transfer: finder (macos) and devices iTunes (windows) #
For those who prefer a more direct control over their data or do not have sufficient space on icloud, you can make a full backup and computer recovery using the finder on macos or the *devices iTunes on windows.
devices Apple is the successor of iTunes on windows 10 and later (e.g. windows 11), free download from the microsoft store. on macos (from catalina 10.15 onwards), mobile device management functions were integrated directly into the finder, the operating system file manager.
1. Create a local backup (iphone source): #
The first step is to create a complete backup of your old iphone on your computer.
- ** connect the iphone:*** connect the original iphone to your computer via usb cable.
- start the software:* on macos, open the finder*. on windows, start the application *devices iTunes.
- ** authorize communication:** if it is the first time, you will have to authorize communication between the devices by clicking on the appropriate button on both of them and entering the unlock code on the iphone.
- select device:* in the finder (left sidebar) or in the device application iTunes, click on the name of your iphone.
- make backup: go to general** (finder) or review* (devices iTunes) and click on the effet backup now** button. if you want to encrypt your backup to save your passwords and health data, select the appropriate option and set a password.
2. Restore a local backup (return iphone): #
Once you have completed your backup, you can restore it to your new iphone.
- start the new iphone (if necessary): if the target iphone is already configured, you will need to restore it to factory settings. disconnect it from your computer, go to settingstransfer or initialize iphoneinitialize content and settings****.
- ** connect the iphone:*** connect the new iphone (or just initialized) to your computer.
- start the software:* open finder* or devices iTunes.
- select device:** click on the name of your iphone.
- restore backup* on the general******* list, click restore backup*.
- choose backup from the drop-down menu, select the backup you just created from your old iphone.
- start restore:** click continue* and wait for completion of the process. also in this case, it is essential that the target iphone has a compatible ios version (equal or later) to that of the backup.
At the end of this procedure, your new iphone will be an exact copy of the previous one, with the same data, apps and settings.
Transfer data after initial configuration #
It happens sometimes to configure a new iphone without transferring data, perhaps by hurry or because the device was not updated to the latest version of ios at the time of purchase. if you are in this situation and want to transfer your data now, the most effective solution is to return the device to the factory state and repeat the initial configuration.
Once your iphone is updated to the latest version of ios, you can start it as explained in the previous paragraphs. after initialization, you can choose from the methods already described:
- Use the start now* function by approaching the two iphones.
- Restore data from a backup icloud.
- Restore data from a local backup* via finder or devices iTunes.
Restoration does not affect the version of ios installed, so, once updated, you should not encounter more problems while transferring data.
Selective file sharing with airdrop and namedrop #
It is not always necessary to transfer the entire content of an iphone. sometimes, you just want to share a single photo, video, document or contact with another device iTunes nearby. for these needs, wireless sharing functions such as airdrop** and namedrop*** are extremely useful and efficient.
Airdrop: quick file sharing #
airdrop* is a wireless data transfer system supported by all iphones from iphone 5. it allows you to quickly send various types of files between nearby iTunes devices.
- activation airdrop:* make sure both devices have the bluetooth active** and airdrop is enabled. you can adjust your airdrop settings in settings****************, choosing whether you receive from “only contacts” or “all”.
- select the file: open the photo, video, document or any other item you want to share.
- rename the share menu:* tap the sharing icon (a square with an arrow pointing upward).
- see airdrop:* select airdrop icon.
- select the target: devices will be displayed nearby with active airdrop. tap the other iphone icon to start the transfer.
With ios 17 and later*, an even more intuitive feature has been introduced: you can start an airdrop transfer by simply approaching the two iphones, without having to manually access the sharing menu and select the airdrop icon. this feature is enabled by default, but you can manage it in settings***general****airdrop, activating or deactivating the switch next to advancing devices.
Namedrop: sharing revolutionary contacts #
Always with ios 17 and later*, the namedrop** function was introduced, a specialized version of airdrop for quick and intuitive contact sharing.
- prepare contact:* open the *contact app and select your contact card or contact card you want to share.
- start iphone:* approach your iphone to the other person’s iphone.
- confirm sharing: a sharing screen will appear on the screen. tap share* to send contact information.
Alternatives for file sharing #
If your iphone does not support airdrop or want to share files with android devices or computers, a great alternative is localsend. this free and open-source application allows you to transfer any file type between iphone, android and computer wirelessly, offering a versatile solution for your sharing needs.
In conclusion, the ecosystem iTunes offers a complete range of tools to manage data transfer between iphone. whether it’s a complete system migration or a single file sharing, the proposed solutions ensure efficiency, safety and ease of use. choose the method that best suits your needs and enjoy a seamless user experience.